
| Fitting
the Hood, Hood Sides & Support Rails by Frank Colgoni |
Back in article 6, we introduced you to our Hagan hood, ood sides and support/latching system. At that time, we used the hood and the measurements provided by Hagan to position our radiator shell - both fore/aft and vertically. With this reference, we can move on to the radiator supports. In the Hagan instructional video, only attachment to a steel rad shell and steel body is covered. We're dealing with a steel shell and a glass body. As such, we'll need to improvise (part of hot rodding right?). About the instructions, and in fairness to Hagan, it would be virtually impossible to cover all the variations in cowl designs across manufacturers and materials. Support Rails At the cowl end, while we could have added a bracket to support the rail, it wouldn't result in a clean look so we looked behind the cowl/firewall to see what we could grab as an attachment point. Coincidentally, the body reinforcing steel was directly behind the area where the rail would terminate. We had the beginning of a strategy and decided to start with the passenger side. At this point, John (of Dream Machines) cut the rail to the approximate length (leaving it tight). We made a cardboard template for the front attachment point and, after some adjustments, John committed it to steel. The rail was then relieved by the depth of the bracket on the mill. At the cowl, another template was made that traced both the channel that the hood/side sits in and the raised cowl section. This shape was transferred to the rail and, once again, the rail was relieved on the mill. With this done, the front bracket was tacked to the rail. |
 Front bracket before attachment to rail (driver's side shown) |
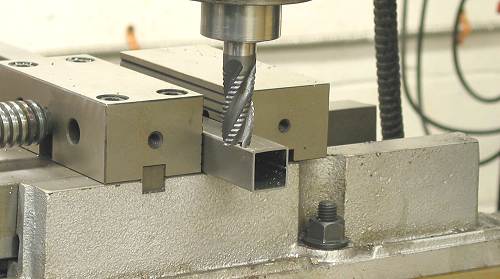 Rail about to be relieved for front bracket |
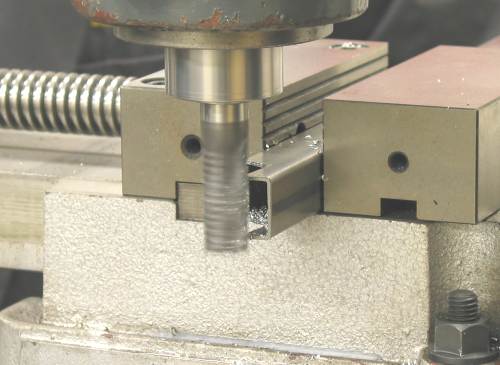 Rail being shaped at cowl end |
 Front bracket tacked to rail |
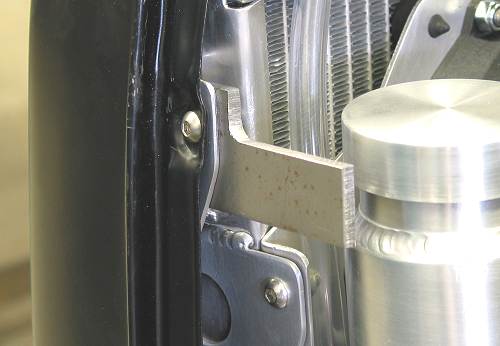
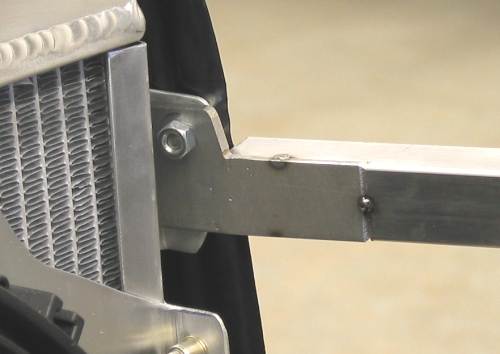 Bracket/rail from the back side |
| While it was relatively easy to anchor the front end of the rail to the radiator/shell, the rear end of the rail called for a bit more finessing. A small exploratory hole was drilled through the cowl behind the rail to determine the whereabouts of the cowl steel support. Dream Machines then drilled the support steel and fabricated a stud/rod that would ultimately be plug welded to the rail at the appropriate angle and bolted to the inner support steel. The process was then repeated on the driver side. |
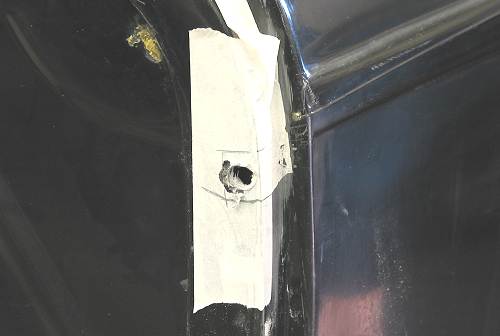 Hole in cowl lip for stud / rod |
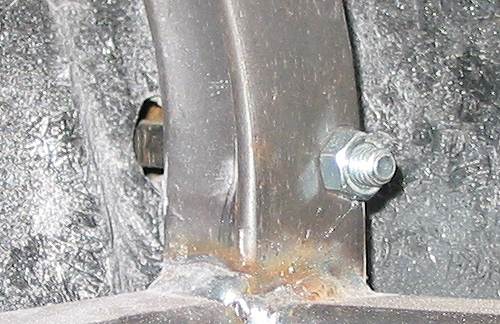
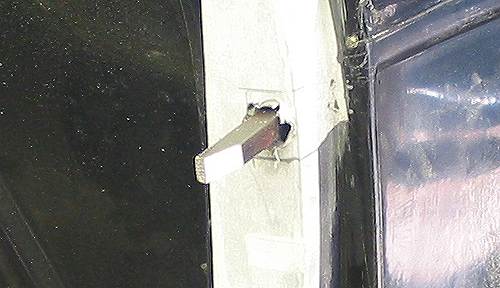 Stud / rod in position before plug welding to rail |
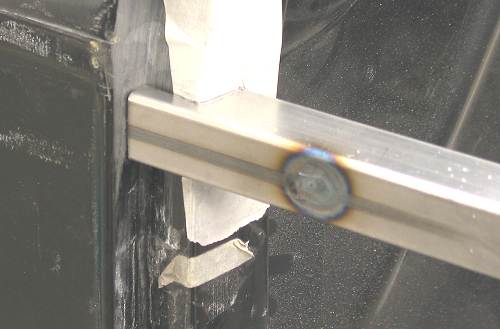 After plug welding |
 View from the inside. Some adjustability is available. |
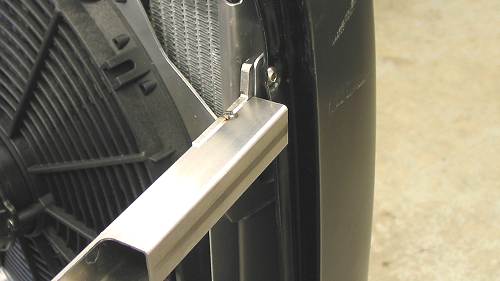
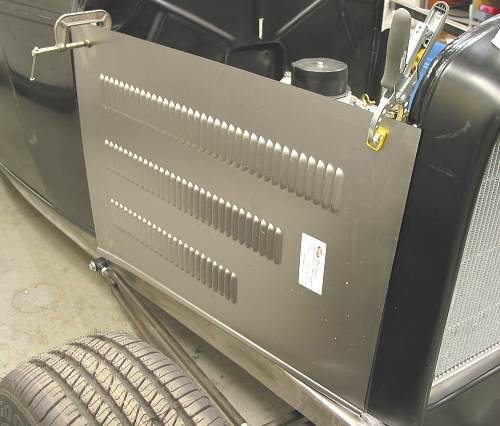
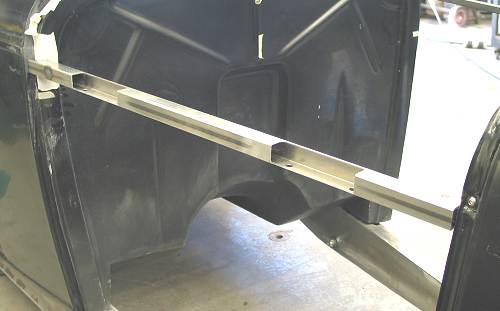 Completed rail in place |
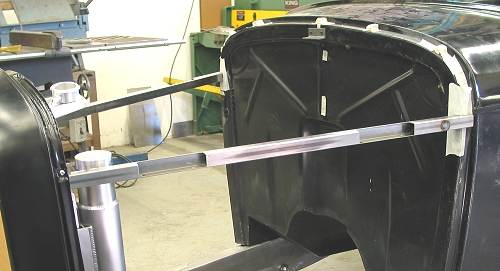 Both side complete. Note the notches for the hinge receivers. |
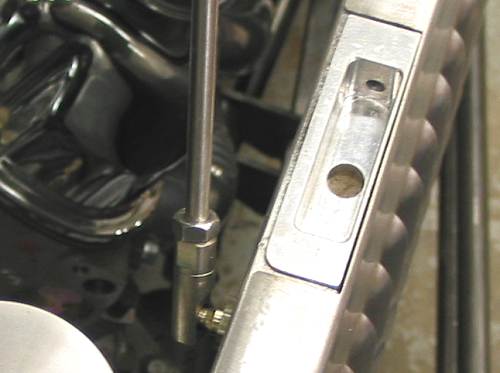
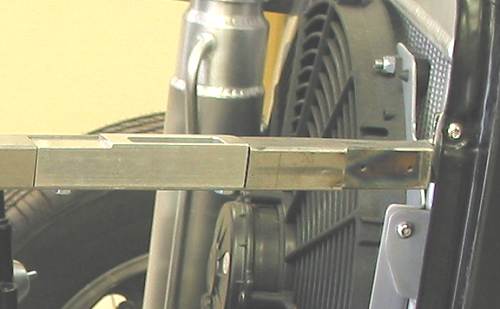 Subsequently, the front side of the front end of the rail was relieved and tapped to allow for a finishing plate that will span the gap between the rail and the shell. The rail was also capped. One of the two receiver blocks is a shown in this photo. |
| Hood Sides The Hagan hood sides come finished on the bottom with the proper bead and are left plain on the other three sides. In order to complete the installation, each end needs to adjusted to the correct length at the cowl and rad shell and the top side requires an inward 90 deg. break and adjusting to match the inner edge of the rail. Once this is done, the Hagan hinge receiver is placed in the support rail and the hood side is marked so that material can be removed from the hood side to fit around the receivers. The final step involves drilling holes in the hood side top flange and rail and then tapping the rail for the machine screws that anchor the side. At the bottom, Dream Machines added full-length material to the bottom flange to close in the gap between the side and the frame rail. In this extended flange, holes and rubber grommets were added to mate up with pins in the rail to anchor the side at the bottom. |
 Hood side clamped in place to begin the marking / trimming process |
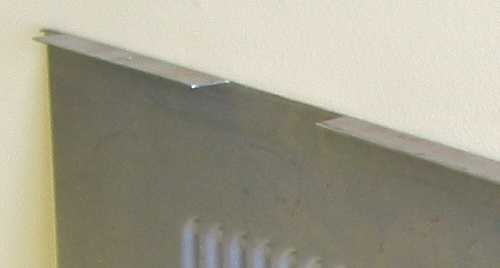 Top of the side after breaking and notching |
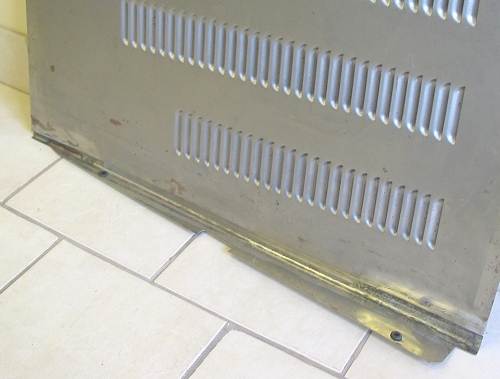 Full length bottom flange with grommets. Notch is to clear the motor mount. |
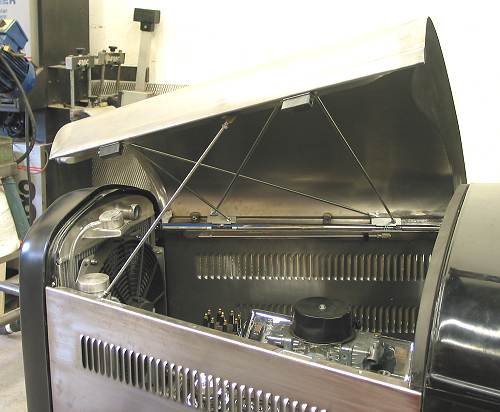
Hood Top While the hood can be guided into the rails/receivers easily as supplied by Hagan, we decided that we wanted some bracing. Dream Machines came up with a neat adjustable rod-based bracing system that runs both diagonally and at right angles. To complete the setup, support props and associated hardware are added. |
 Hinge and ends of bracing rods |
 Completed hood |
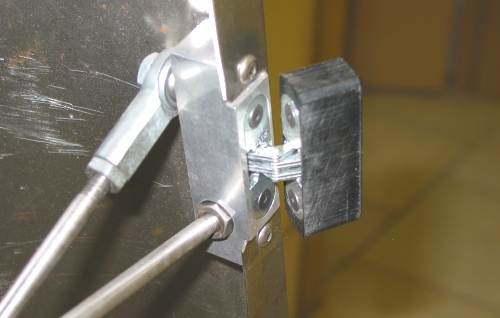
 Detail of receiver block and hood prop hinge end. |
| Other "Adjustments" We've commented numerous times about irregularities in bodies from one manufacturer to another. The irregularities can show up when you're fitting aftermarket pieces that are meant to suit all bodies (so-to-speak). Dimensioning issues and slight variations in body details can force additional finessing (there's that word again). It comes down to a matter of choice and how far you want to go. In our case, a decision was made to make a couple of incisions at panel corners to bring the panels into better alignment with the body. As we stated up front, it's "part of hot rodding". |
 |
 |
Resources: |
| Next Up - Introduction to paint and associated products |
<< Previous
Article -- Next Article>> |