
| Seat Frame Attachment |
| By Frank Colgoni |
Where and how to fasten a seat is always a challenge. Needless to say, it should be secure. With an aftermarket seat, while there are mounting tabs/brackets, they usually fall in an area above wide open space under the floor. Mounting to the floor of glass body is not an option. For our application, we are using a Glide Engineering seat that is specific to 1932/33/34 Fords. It has an adjustable seat back and a flip forward seat base - handy for under seat access to the master cylinder. Here's how Dream Machines handled the installation of the seat frame: |
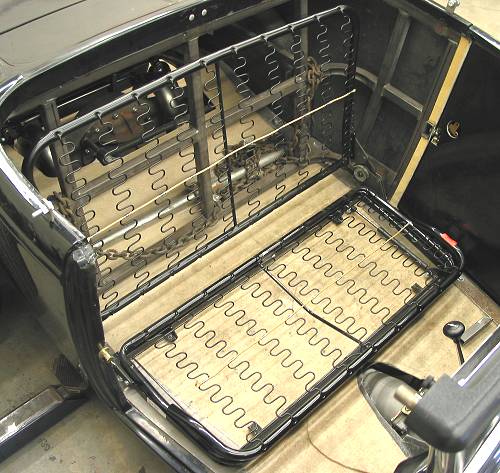 The seat frame sitting in the car in its final position. |
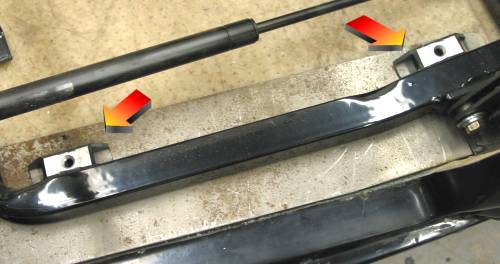
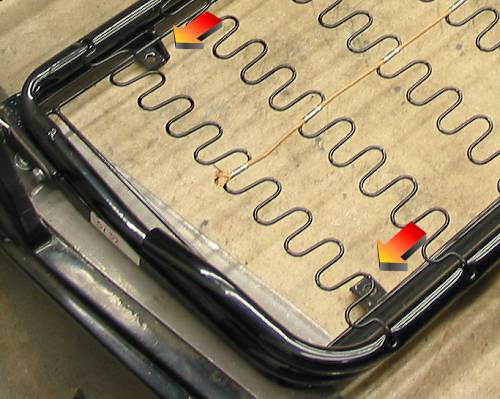 The arrows indicate the mounting bracket provided by the manufacturer. |
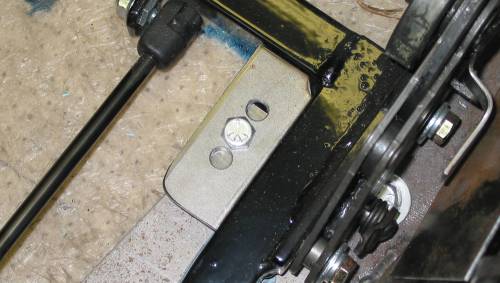
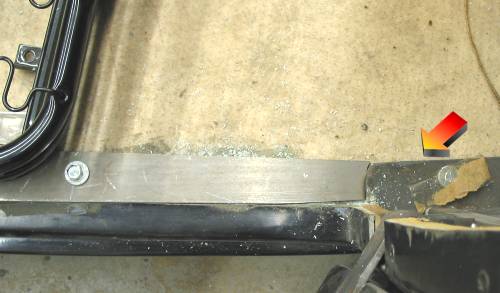 The arrow points to a body mounting flange at the A pillar. The new plate to the left was added by Dream Machines. This new plate extends under the seat and ends at the B pillar body mouting flange. It will be welded at each end to the body mouting flanges and is secured in the middle with a bolt that fastens to the frame rail. |
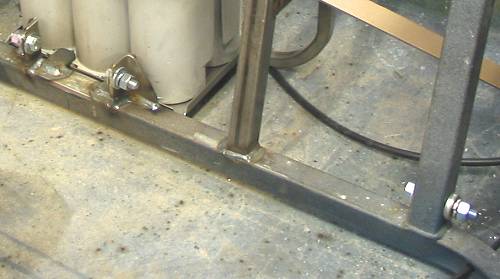
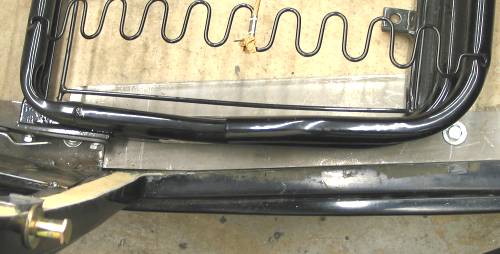 The new plate widens under the seat to accept new mouting brackets. |
 These brackets will be welded to the new plate just inside the perimeter of the seat frame. |
 Here they are prior to be welded to the new plate. |
 With the brackets in place, this mounting plate will be welded to the seat frame to accept bolts. |
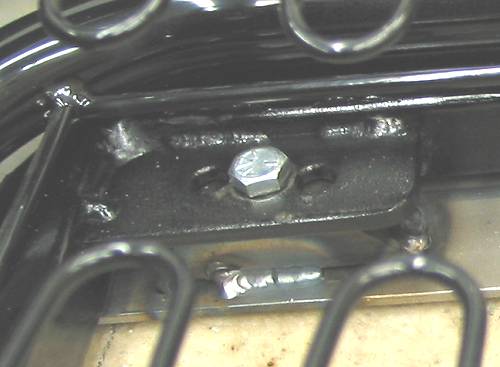 The finished mouting plate after welding and squirt of black paint. Looks like it came that way from the factory. |
 As a footnote to this article (in case you're wondering), there are seatbelts. On each side, the outside portion of the belt anchors to the bulkhead steel upright and the inside portion of the belt (buckle side) anchors to a bracket that has been added to the steel rail at floor level. |
Resources: |
| Next Up - Alternator brackets |
<< Previous
Article -- Next Article>> |
Copyright © Canadian Rodder Inc. / deuceodyssey.com