| Getting
To Work On Our Frame |
by Frank Colgoni
First Off: Some Cosmetic Surgery
We mentioned in article one that “custom work"
will be kept to a minimum. If, during the build, we
feel that some customization or change will improve
the overall look, performance or distinctiveness of
the car, we will pursue it.”
Well, having said that, what do we start with? Custom
work - of course. After some discussion, we decided
to do a little cosmetic surgery that would affect the
overall length of the frame and specifically the length
of the front frame horns. The stock wheelbase of 106”
remains unaffected.
By taking 2” out of the frame rail / frame, and
with the diameter of the front tire that we’re
using (195/65X15), the tip of the frame horns / front
spreader bar ends up almost exactly lined up with the
leading edge of the tire (rather than 2” in front
of it).
To achieve this, and to help maintain the integrity
of the rail /strength, the rail was sectioned by Dream
Machines so that the material removed came out of different
places on the rail top, side and bottom rather than
straight through. |

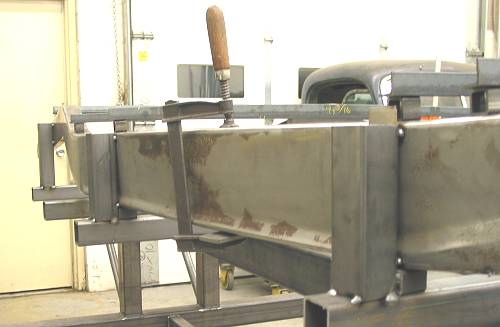
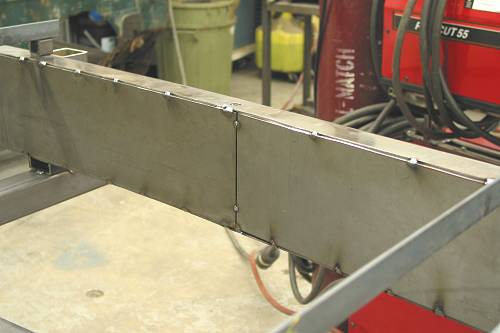
Our sectioned rail |
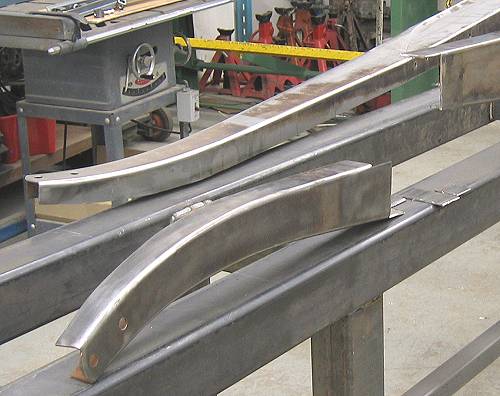
By taking out the material at this point, the frame
horn retains its shape. |
Establishing Critical Dimensions
There are a number of ways to establish dimensions when
building a frame from scratch. Obviously, the first way
is to consult a drawing(s) (and we did). If available,
an original frame that hasn’t been altered from
its production dimensions might be another way. Also,
frames from other projects are useful. Proceed with
caution though with all references. Having done
a number of cars with replica bodies, a lesson learned
is to use the body (your body) as another, important,
reference. It is a fact that all bodies are not created
equal – in terms of dimensions that is. In the
case of the ’32 body, there is a natural channelling
that occurs where the body overlaps the frame starting
at the cowl and ending at the rear quarter. Because
of this, the frame must fit in the pocket formed by
this channel. The dimensions of this pocket from your
body can be compared with your reference measurements.
Better to do this than to have the body either not fit
over the frame or be too sloppy.
With new rails like ours, it’s a good time to
compare front to back body mounting locations with the
holes in the top of the frame where weldnuts will be
fastened. Also, side-to-side / centre-to-centre dimensions
of our body mounting locations were noted and struts
were cut to length and holes were drilled at these centre-to-centre
dimensions taken from the body. These will be used to
aid in establishing width. Before the rails go into
the fixture, the weldnuts are fastened to the underside
of the upper rail horizontal. We added an extra body
mounting location location in the middle of the door
opening to allow for additional shimming.
When we were satisfied with our reference measurements,
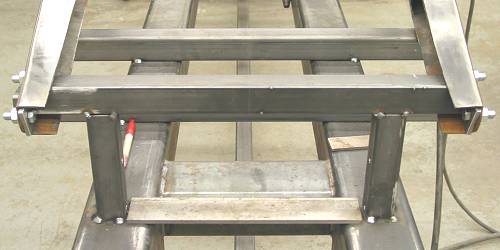
the fixture laterals (outriggers) were established.
The rails were positioned on the laterals and the side-to-side
struts were loosely fastened to the rails. Spacer blocks
are put under the frame at two lateral positions where
the frame is meant to be parallel with the frame table. |
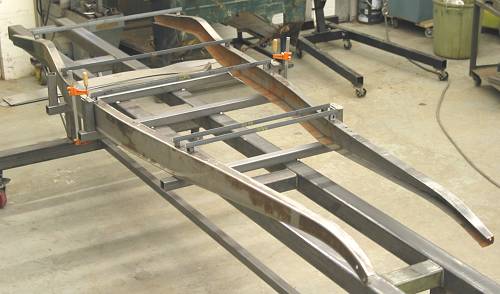
The rails sit loosely on the outriggers with the struts
in place.
Verticals are being cut and added to each outrigger.
|
 |
Pinching Rails
Before proceeding, a few words about pinching the ’32
rails. If you’re not familiar with the term, pinching
refers to the process of bringing the rails closer together
at the front end on highboy frames to eliminate the gap
between the hood and the frame rail toward the front end
of the hood side. This is matter of preference and not
necessary (obviously).
When the rails are pinched, a number of additional
modifications are required: front crossmember width,
rad mounting locations, panhard bar length, spreader
bar width. Our rails will be pinched 7/8” on each
side.
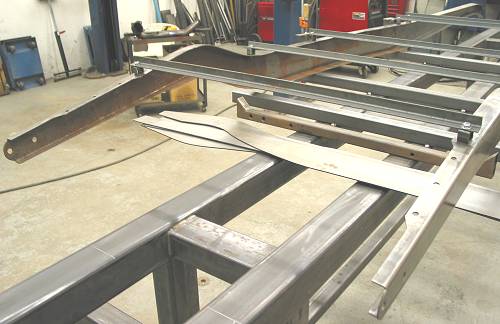
|
An unpinched rail / resulting hood alignment |
The result of pinching |
Securing The Frame Rails To The
Fixture
Before the boxing plates go on, side-to-side dimensions
are established, uprights are attached to the laterals,
the rails are squared, the front frame horns are secured
to a speader bar arrangement that is part of the fixture
(at pinched dimension) and then the rails are tacked to
the uprights. At this stage the boxing of the rails could
begin. With these precautions and a sensible welding sequence,
movement in the rails from the boxing process / heat will
be controlled. |
Vertical are in place and tacked |
Rails have been piched and held in place by fixtured
spreader. |
Boxing The Rails
As the frame is in the fixture, there’s no question
that the boxing process is more difficult. Once the welding
is completed on the boxing plates and crossmembers are
added, the frame can be removed from the fixture. The
welds can then be dressed. |
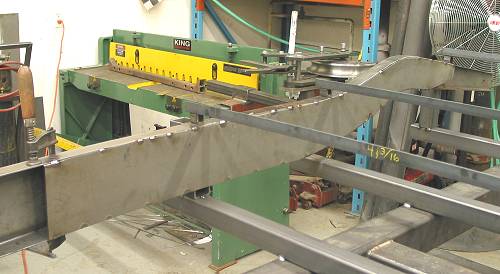
Rear boxing plate going in |
Intersection of front and rear boxing plates |
|
|
| Next Up - Crossmembers / Intro to front and rear ends |
|