
| Top Mounting & Frame |
By Frank Colgoni A Frame for Our Top To make this happen on our car, two things were required - a way to fasten a frame and the frame itself. Fastening Points After obtaining the measurements to position a mounting tab and the dimensions of the tab itself, we had a look at that area on our body. Fortunately, directly beneath the body skin, is body reinforcement square steel tubing. From here, it was matter of devising a methodology of fastening the tab to the tubing and fabricating the tab. John, of Dream Machines, and I discussed making the tab removeable to facilitate body prep and paint and to optionally remove the tab for cosmetic reasons. This added some complexity to the solution but Dream Machines came up with a solution. The process started with the creation of a slot in the body at the required position and dimensionally correct for the tab (ours was fabricated from flat stainless bar stock). After the slot was cut out, the tab (overlength) was inserted to see where it would be positioned relative to the support tubing. As it landed near the edge of the tubing, Dream Machines was then able to fabricate and weld a bracket to the tubing, from the inside, that the tab could be bolted to (see photos below). |
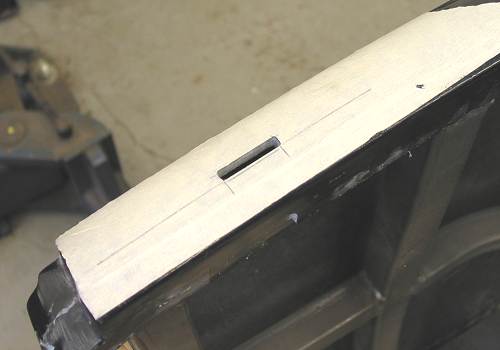 This is the area behind the door that has been marked and cut out to receive the tab |
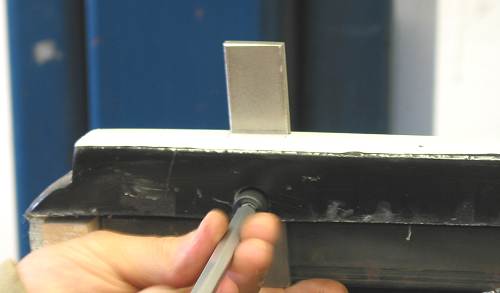
 Testing the fit of the tab. A hole still needs to be made in the tab for the top frame mounting bolt. At this point, the tab is simply resting on the steel tube below. |
 Dream Machines is creating a socket in the tab bracket for the bolt that will anchor the tab to the bracket. |
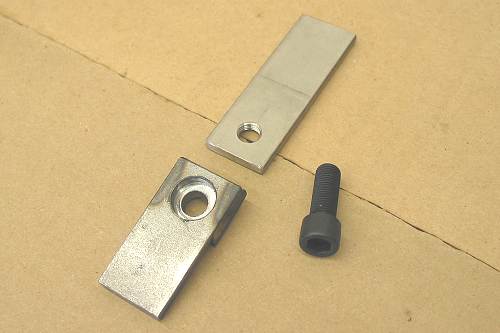 Here is a shot of the tab bracket (bottom), the mouting tab and the bolt that will secure the tab to the bracket. The tab still requires a hole to accept the top frame bolt and a rounded top. Because the tab sits on top of the square steel body reinforcing tube, once bolted to the bracket, it won't move. |
 Test fitting the assembly before welding the bracket to the body reinforcing tube. |
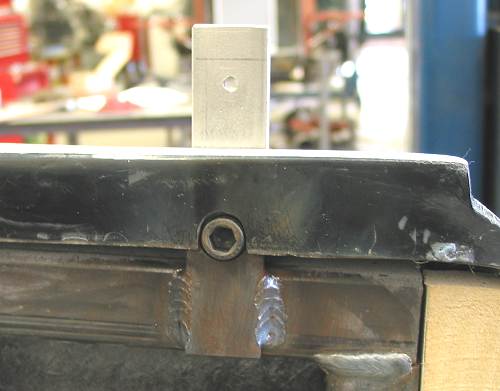 Here's the assembly after welding. In this photo, a pilot hole for the top frame mounting bolt has been added. |
The Frame To get the process going, Topsters provides a sheet outlining all the critical dimensions that they require to fabricate your frame. Take the time to provide them with accurate measurements. Measure twice (at least).
|
 Two-piece header rail (for easy stowing). |
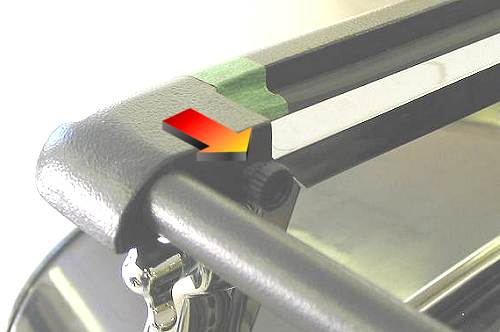
 Detail of the underside corner showing where stanchion is inserted and fastended. |
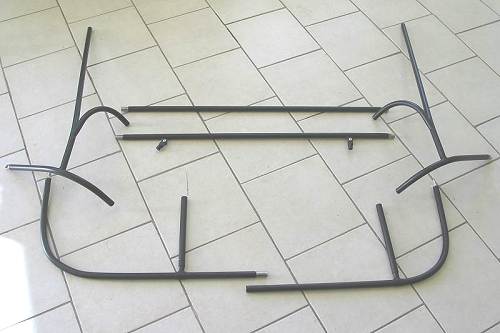 The balance of the components comprising the frame. |
 Assembled and fitted to the car. |
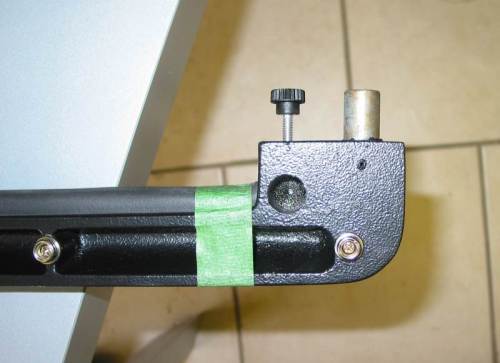
 The arrow is indicating the thumb screw that tightens into the stanchion to secure the rail. |
 Detail of rear floating rail. Note: the pipe insulation is elavating the rail while we mark and cut the two rear rail supports to final length. |
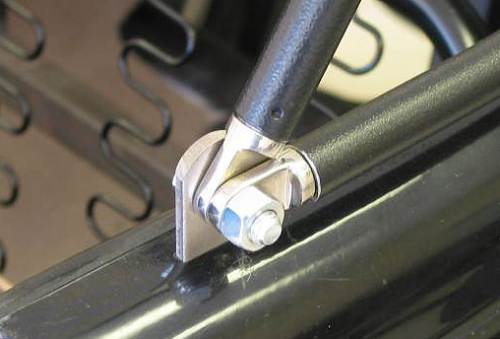 Detail of our finished tab and the junction of the main bow and floating rail ends. |
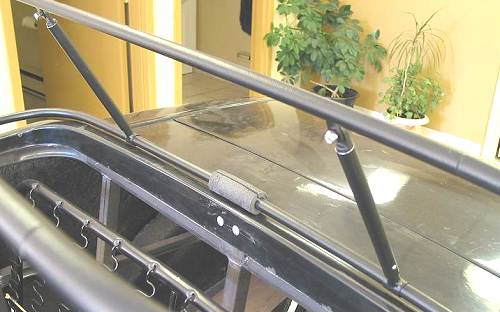
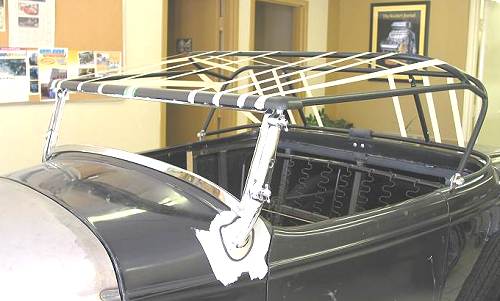 Masking tape has been added to visualize the frame with fabric. You'll see the top upholstery process in a future article. Looking good though at this point. |
Resources:
|
| Next Up - Brake booster / master cylinder and brake pedal |
<< Previous
Article -- Next Article>> |