| Body Modifications |
By Frank Colgoni Before the body could go off for body and paint, there were a number of things to take care of - both cosmetic and functional. In the functional department, we had three things to take care of: a raised trunk floor to accommodate the raised rear frame crossmember / panhard (see article 9 HERE), the rear portion of the transmission tunnel to accommodate our Ford AOD transmission / shifter and the inner vertical surfaces of the door pillars to provide a level mounting surface for upholstery panels. In the cosmetic department, the body came with a firewall notch to suit a small block Chevy. As we are using a small block Ford, we didn't need it. Could we have simply left it there? Of course but.... Also, the tops of the inner door panels terminated in a stock-type configuration. That is, there was a flange that would accept a door panel. If left the way it was, it would have required some fiddling to make it work. A nicer solution, in our estimation (the purists might argue), would be to make the inner door top mimic the height of the flange behind the door and, at the front, terminate in a downward "swoop" ending at the bottom of the dash. It will all become obvious when you see the accompanying photos. The Trunk Floor |
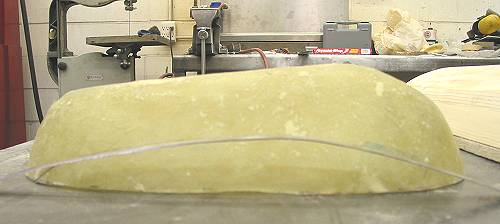
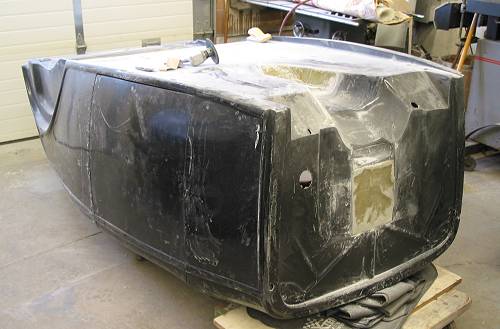
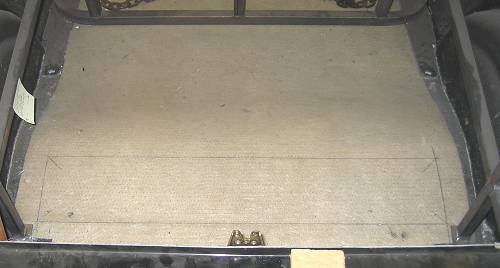 Here's the trunk floor before any cuts. Some preliminary marking is evident relative to the crossmember location. |
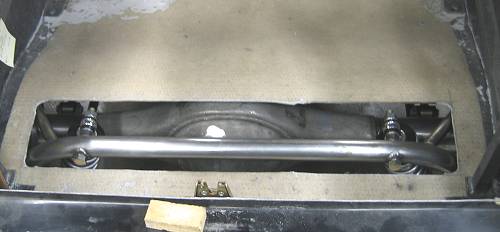 The first cut exposed the raised crossmember. |
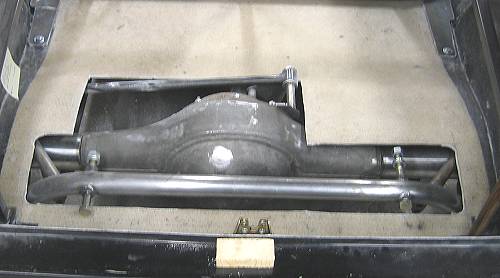 The second cut exposed the panhard. After this, the balance of the area was removed to provide for a symmetrical opening. |
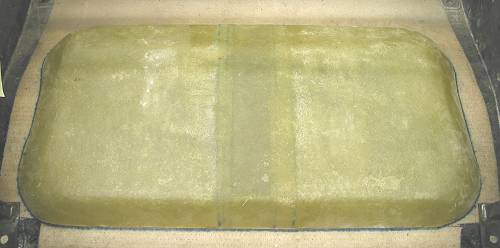
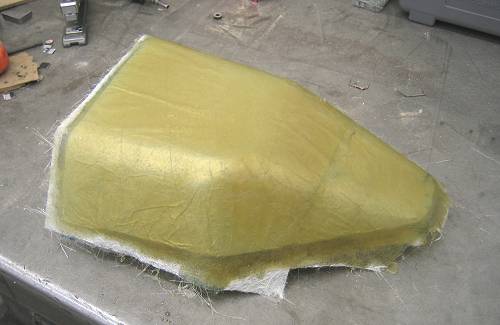
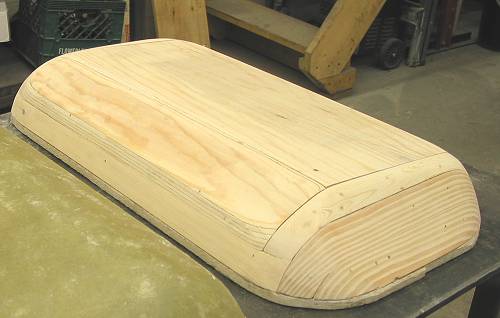 Here's the Dream Machines' fabricated plug for the trunk floor. This piece is too nice to get rid of. Nice work John. |
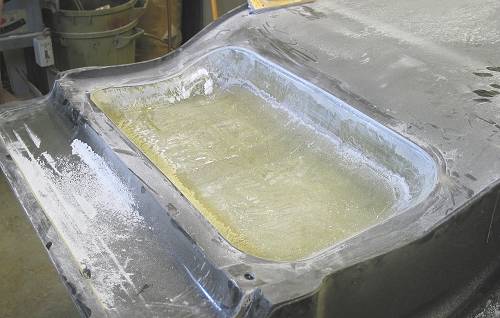
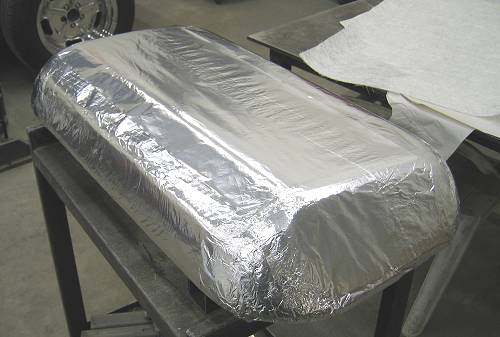 The foil and release agent are applied next. |
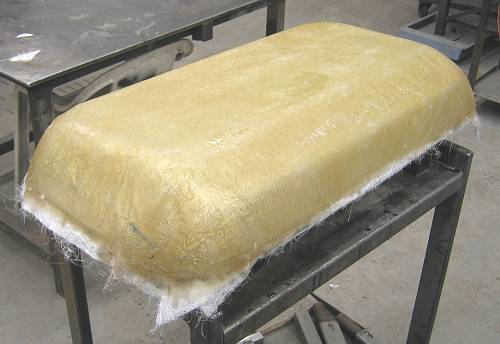 Here we are in progress. The 'glass extends down well past the plug. |
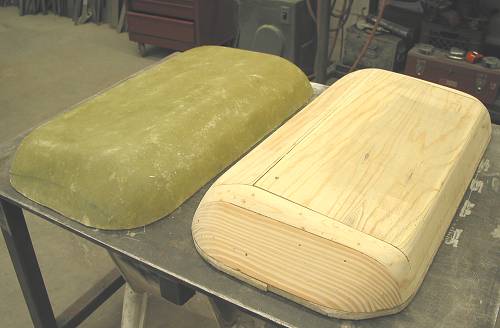 The finished piece and the plug. The finished piece now needs to be contoured along it's bottom edge to match the curvature of the trunk floor. |
 What you're looking at is a piece light material that has been bent to the contour of the floor. A line was scribed on the finished piece and the piece was cut. This worked "like a charm". |
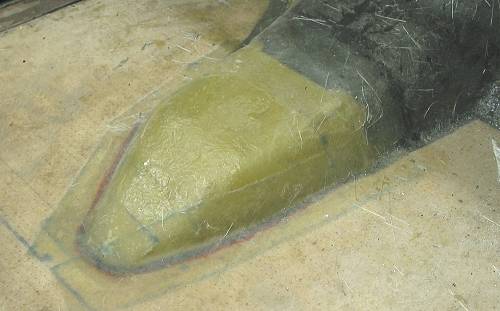
 Here's a shot of the finished piece laying in position. An outline was made around the piece with a marker, the piece was removed and the opening was cut to the exact shape of the piece. It was then laminated into place. |
 Here's the result from the bottom. |
Transmission Tunnel |
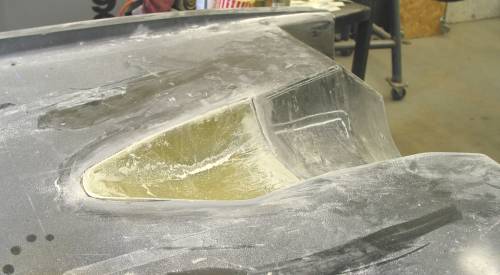
 This illustrates the first cut. It was opened up slighty again after the shifter arm travel was established. |
 The lay-up of the new piece in progress. |
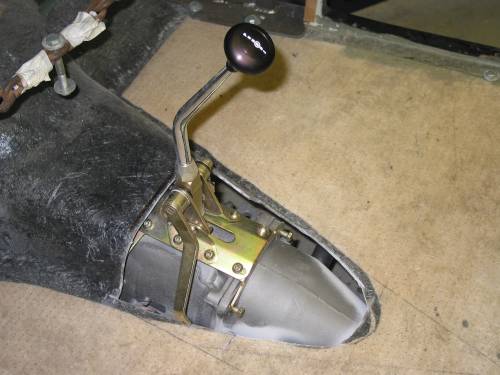
 The finished piece 'glassed in place requiring only the shifter opening. |
 From the underside. |
Inner Door Panel Tops / Door Pillars |
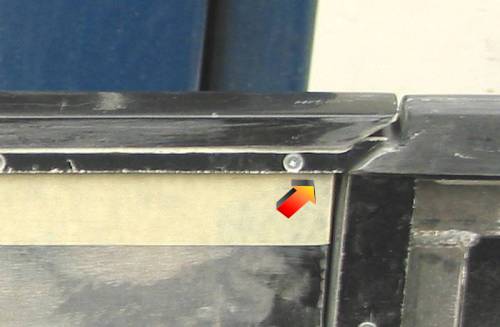
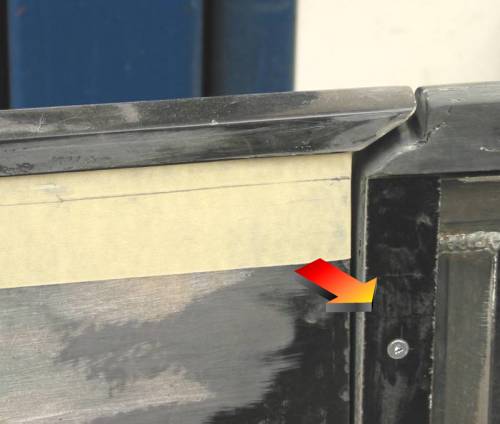 In this photo, the pencil line on the masking tape shows the proposed extension to the door top. As you can see, the joint of the door top and the pillar will need some finessing. The arrow is pointing to a strip of the trunk floor that has been laminated to the reinforcing wood. This will allow for the interior panel to sit at the right depth relative to the flange above. |
|
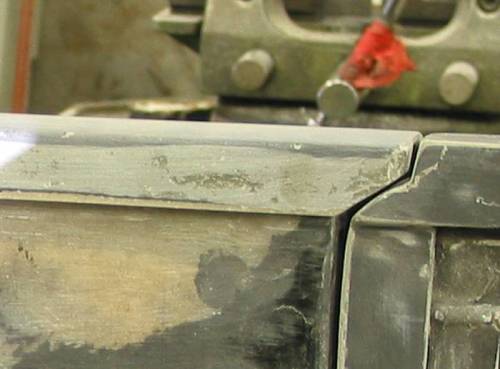
 The arrow points to the strip of material that has been shaped, test fitted under the existing flange and screwed in place. With the fit confirmed, it can be removed, the tape will be removed and the piece will be resined and screwed into place. |
 Further along in the process, the first application of filler has been made. The end at the pillar still needs gapping. |
 Further along again showing the complete door top. |
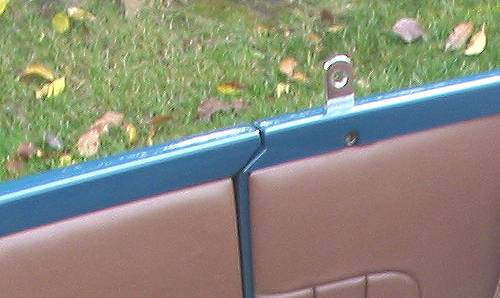 Finished, painted and upholstered. This makes for a nice continuous line of both the door top and the upholstery panel. |
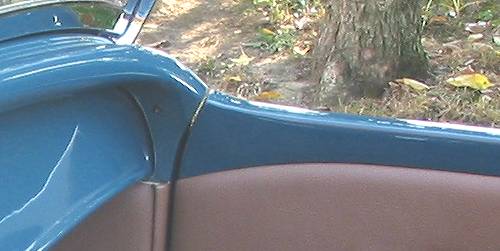 At the front, the door top flows into the dash corner. |
Firewall |
 This is the inner view of the distributor notch in the firewall prior to removal. |
 The resulting patch panel in place. |
 With this work complete, the body was flipped and all the new joints and surfaces were smoothed and readied for surface finishing. |
Resources: |
| Next Up - Front Shock Brackets |
<< Previous
Article -- Next Article>> |
