
| Heater / Cover |
| By Frank Colgoni |
The original plan didn't call for a heater but after some consideration of our three driving seasons (spring, summer and fall), I reconsidered figuring that a heater could come in usefull for cool mornings/evenings. In fact, it already has. We chose Vintage Air's bi-level heater 50616- VUZ (Heater with defrost - although we wouldn't be using defrost). The unit is controlled by a single cable/switch control that operates both air door actuation and fan speed. The cable operated door allows for blending of heat between floor and ducts which can be used for defrost or with underdash vents in roadsters. In our application, we decide to not use the cable to operate the air door but to simply manage the door by reaching under the dash and manipulating the door using the small rod attached to the door. The fan switch would be hidden under the dash (like the headlight switch). The fan switch, in the on position, operates the fan and opens the solenoid valve allowing coolant to flow through the heater core. |
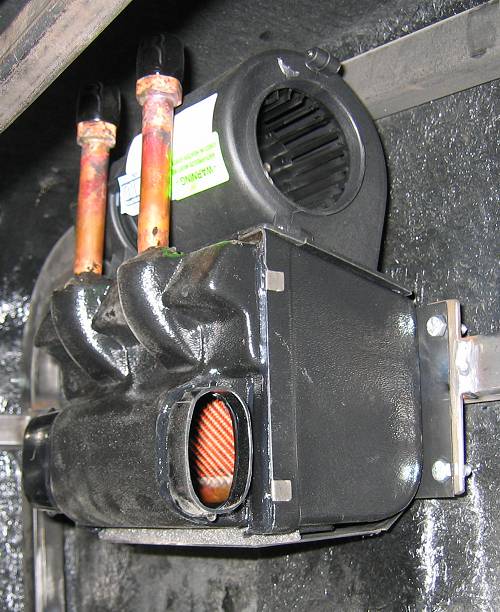
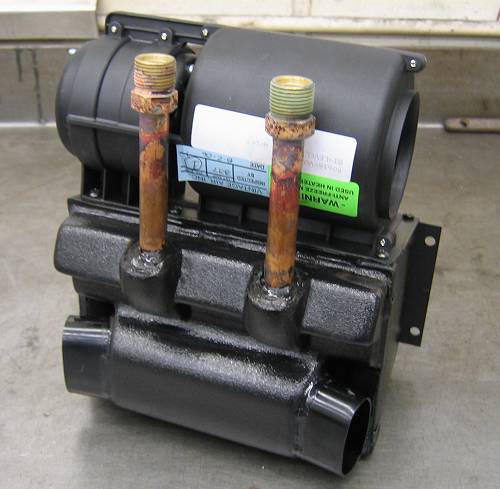 Front side of the heater. Air can exit through the bottom air door or through the side ports. The position of the air door regulates flow through the side ports. If defrost is required, the side ports can be connected to flexible hose (provided). |
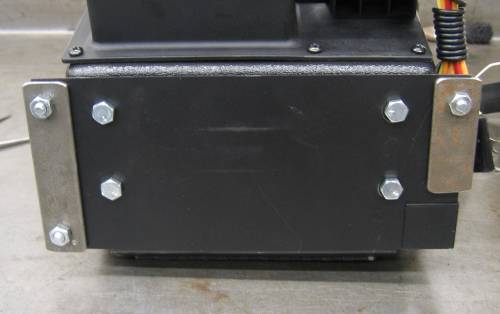
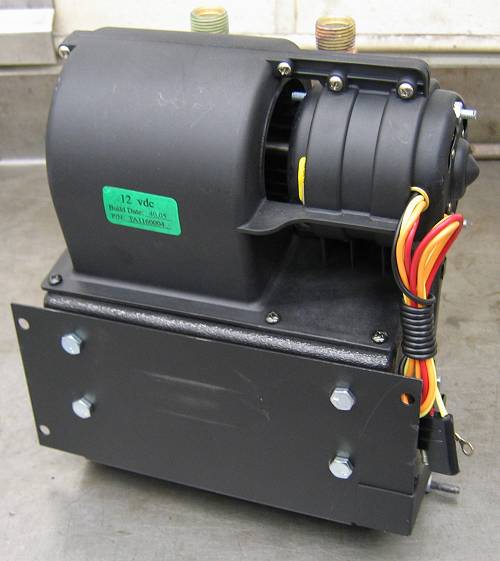 Back side. Notice mounting plate. |
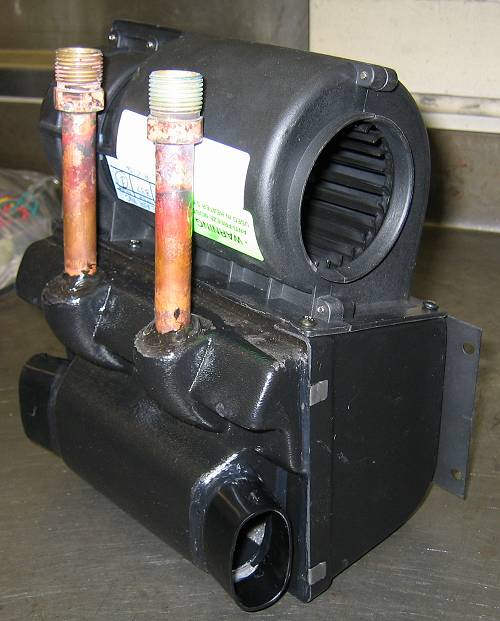 Side view to show fan. It puts out a LOT of air (and heat). |
 |
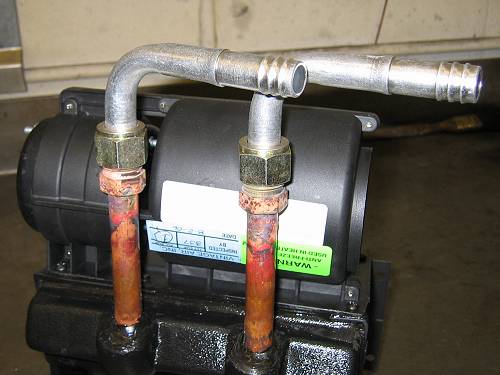 With 90 deg. heater hose connections. |
 Dream Machines fabricated these brackets to be attached to the body reinforcing steel. |
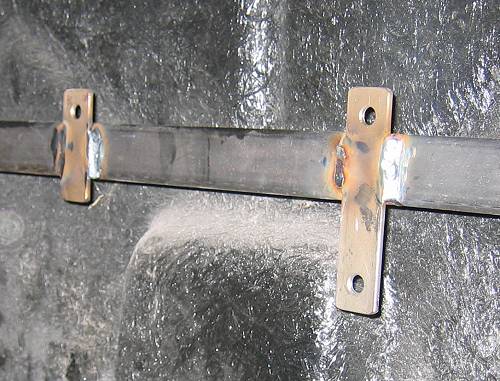 Brackets in place. |
 |
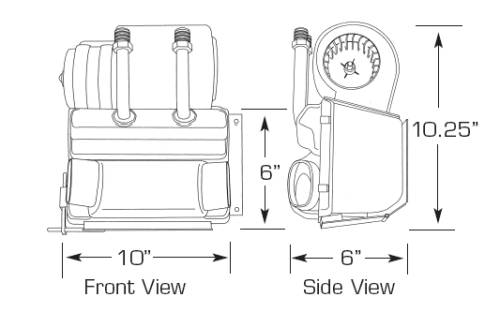
For cosmetic reasons, we talked about the idea of fabricating a cover. As usual, John was up for the challenge. With the heater mounted in the vehicle, I took measurements and fabricated a simple cardboard mockup to simulate an overall design. John then began fabrication and refined the design. As we hadn't decided on a location for the ignition key (I didn't want it on the dash), he suggested integrating it into the heater cover. I was totally in agreement. |
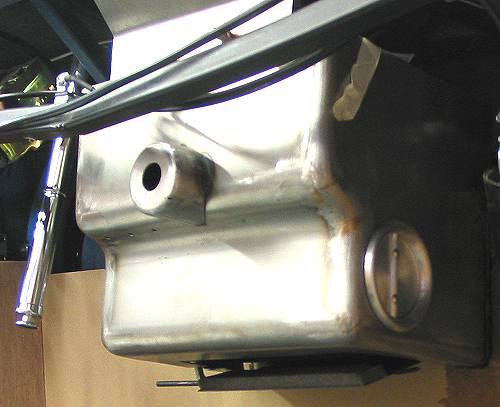
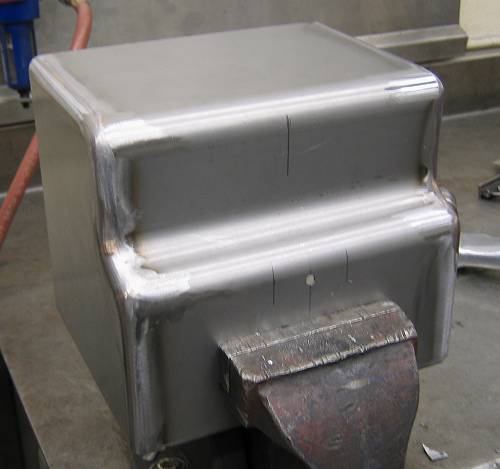 The basic cover fabricated. You're looking at the front with the top side in the vice. a few things need to be done yet: the bottom needs to be cut out for the air door, a slot is required for the air door rod and the ignition switch housing needs to be added. Also, at this point, we hadn't decide what to do about the side air ports. |
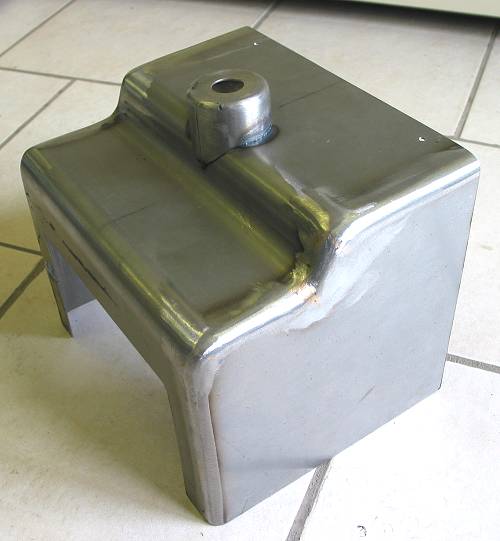
 The completed cover from the back. |
 |
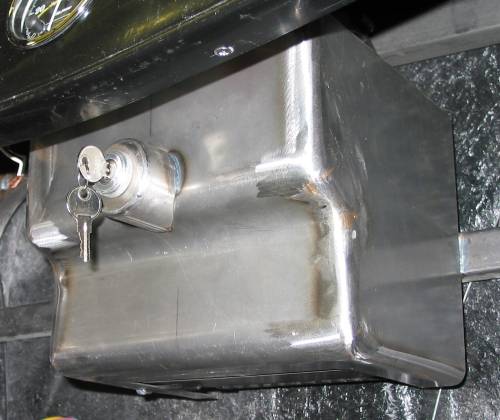 In place under the dash. |
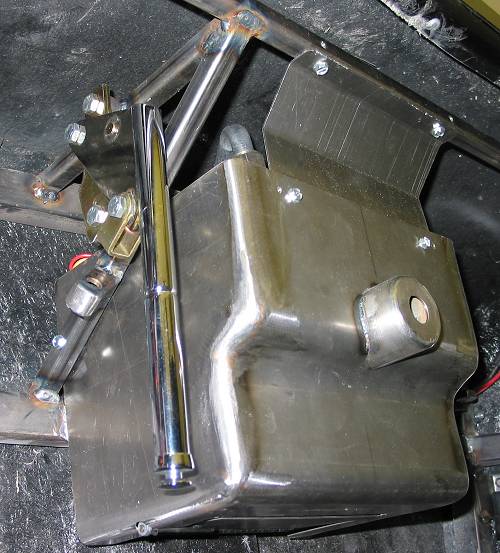 A few things here: this shows how the cover is mounted AND the underdash location of the parking brake handle / bracketry fabricated by Dream Machines. |
 |
| While looking around for a suitable solution on how to deal with the side air ports, I came oacross these venturi-styled Proline louvers from Vintage air. Very cool item. |
 Here they are in the cover. Notice that the bottom air door is open showing the small rod used to open the door. |
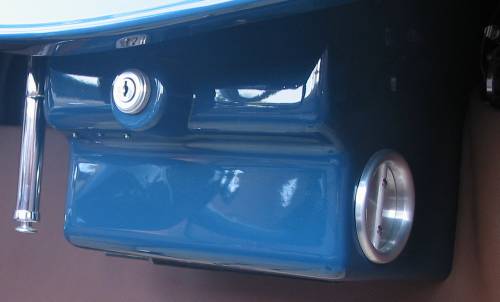 Finished and painted. |
Resources: |
| Next Up - Seat frame |
<< Previous
Article -- Next Article>> |