
| Upholstery - Part 2
|
| By Frank Colgoni |
| In Upholstery part 2, to complete the process, we'll cover the seat and top. |
 This is the seat foam as it came from the manufacturer |
 The foam after Tack had added contour, lumbar and upper back support and bolstering to the seat and back - a major improvement. |
 These pieces will become the seat covering. A layer of foam has already been added to their back side. |
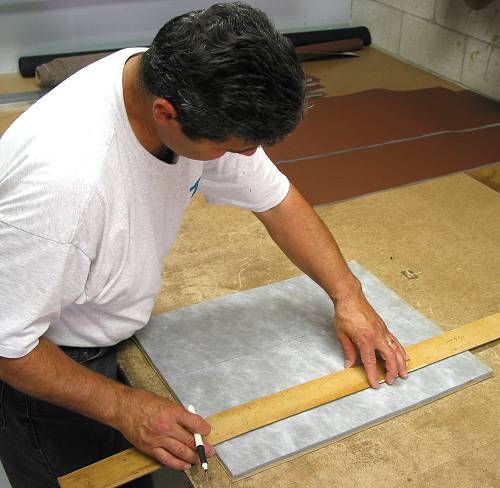 Peter marks for pleats. |
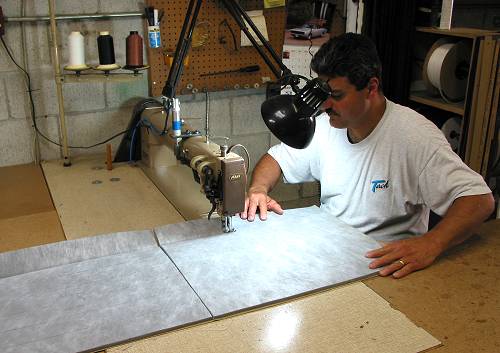 Peter makes the first sewing pass for the pleat |
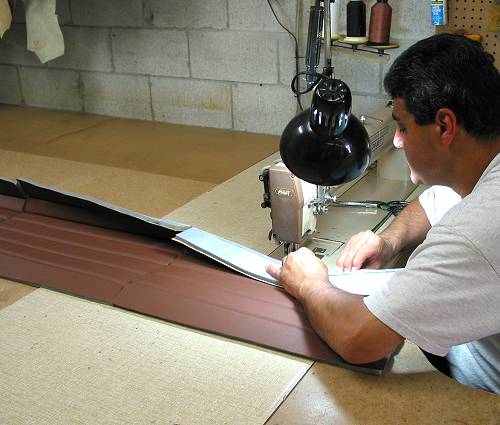 He then sews it again a second time to pinch the pleat. |
|
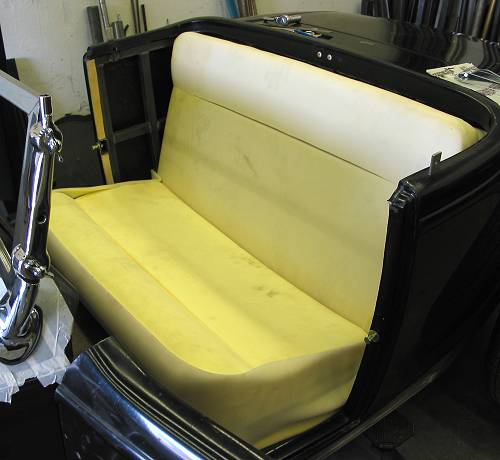
 The cover laid over the seat |
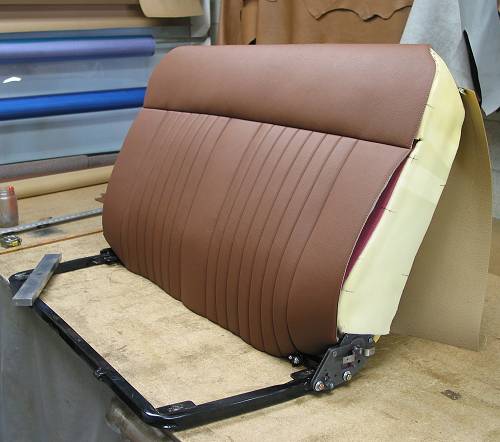
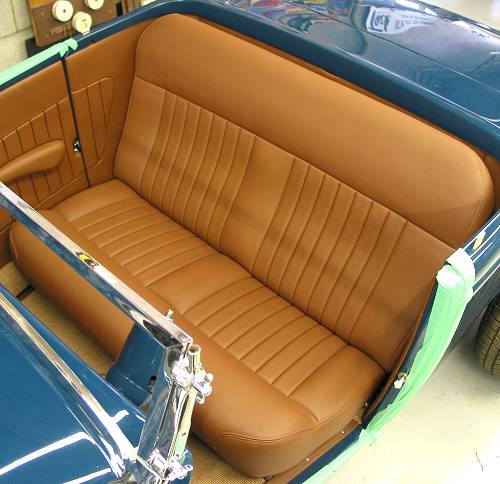 Completed seat |
| back to top |
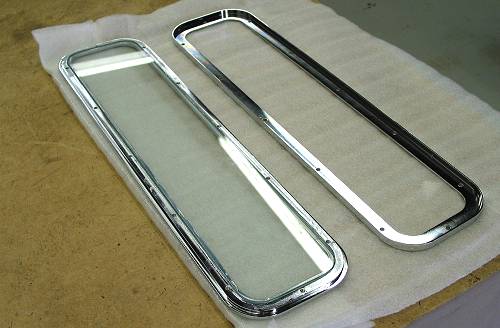 These are the two halves of the top window frame from Smart Parts. Note: we chromed the aluminum frame for easy maintenance. |
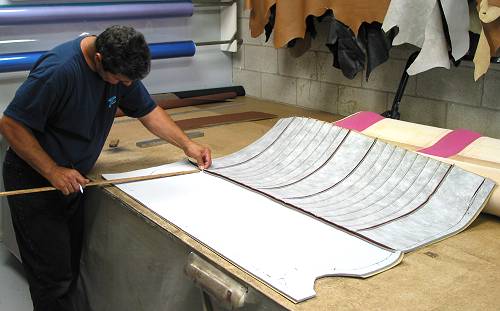
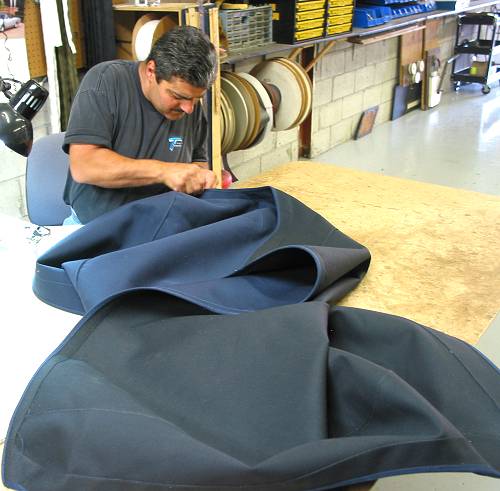 Peter working on the top |
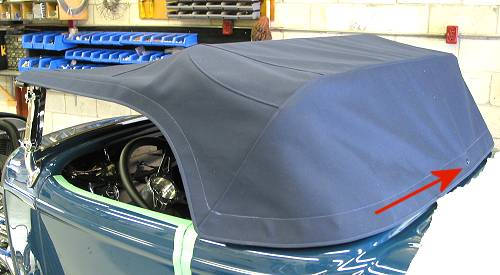 At this point, the completed top is sitting on the frame with only one snap in place (indicated by arrow). This snap is in the exact midpoint of the rail. |
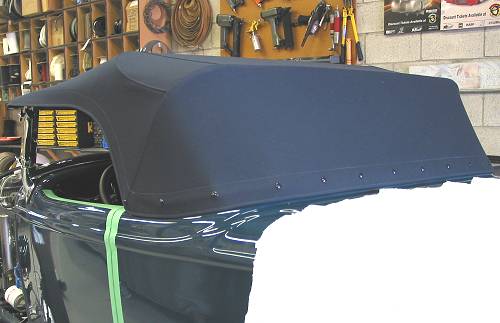 At this point, all of the snaps have been installed along the rear apron and to the underside where the top wraps around the windshield header. |
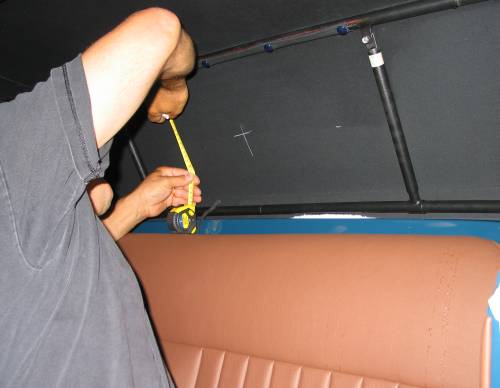 Peter is marking the position where the rear window frame will be placed. |
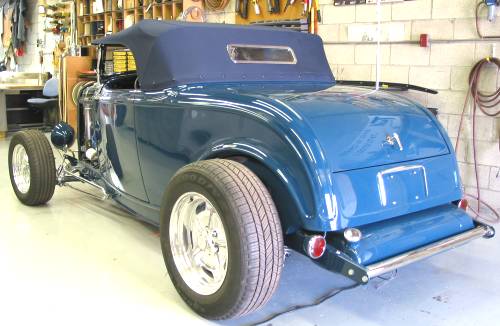
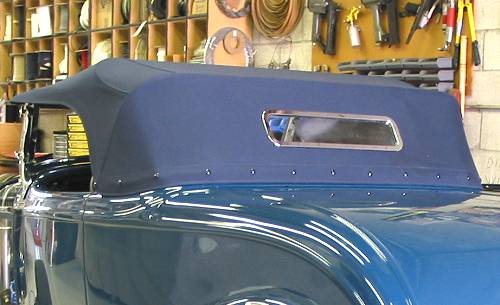 The completed top looking good |
|
Resources: |
| Next Up - Details and specifications |
<< Previous
Article -- Next Article>> |


Copyright © Canadian Rodder Inc. / deuceodyssey.com