| Upholstery - Part 1
|
| By Frank Colgoni |
Because of the large number of photos, upholstery will be split into two articles. Prior to the car arriving at Tack Upholstery, Peter Giampa had examined the car at Dream Machines and had made a number of suggestions relative to preparing the body for upholstery - specifically to prepare for panels. You can view the article covering the work that was done HERE. Further, Peter and I spent a considerable amount of time discussing the materials that would be used and colour. Like the paint colour, I had a pretty good idea what family of colours I wanted to use for the carpet, seat / panels and top. I also knew in advance that I wanted to use square weave carpet, vinyl for the seats / panels and canvas for the top. It was simply (not really simple) a matter of finding them. Fortunately, Peter had lots of samples on hand and after scrutinizing everything several times, we settled on materials. Square weave carpet is very serviceable and looks very tidy all the time. Vinyl for the seat and panels was a must as we expected our fair share of water intrusion (i.e. rain) and canvas just looks very elegant and cool on a roadster top. So, with that intro, let's dive into some photos. |
 The car as it arrived at Tack |
|
|
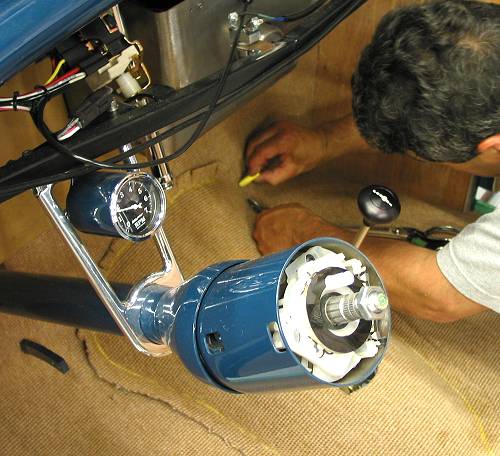
 Below the dash, there is an upholstered panel which meets the carpet. |
 Tack created a bulge in the under dash panel to accomodate the heater solenoid valve. |
| back to top |
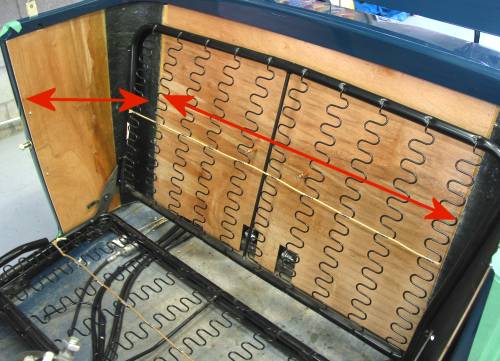
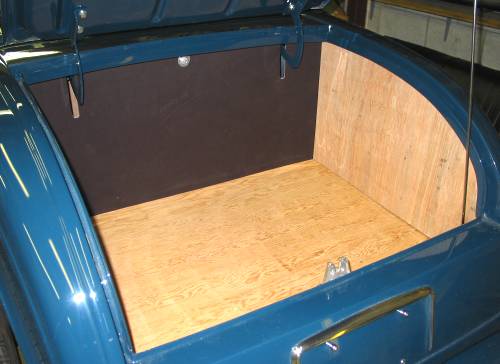
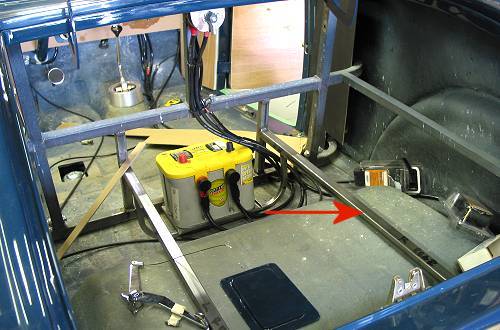 This is a view into the trunk area prior to any work starting. The arrow indicates the tube that supports the floor. |
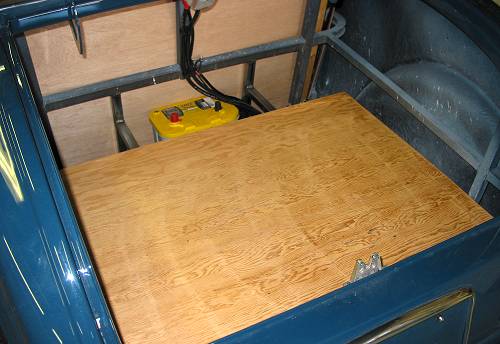 The first trunk panel in place. |
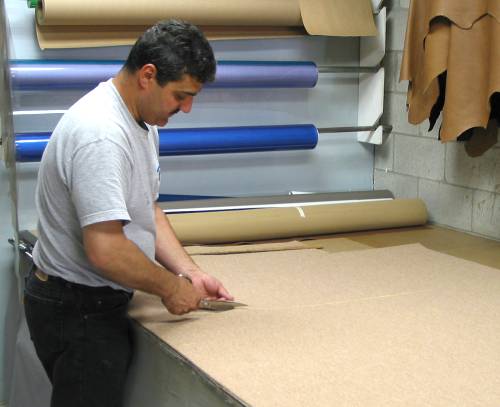 Peter cutting carpet. |
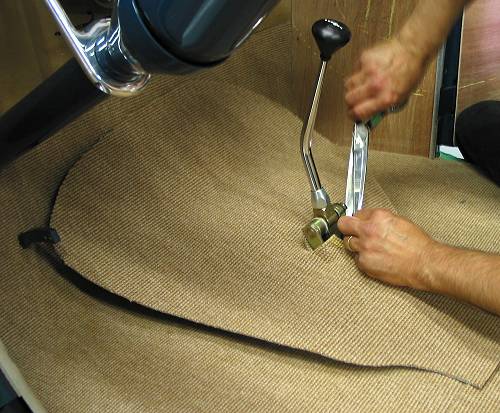 At this point, Peter has rough-fit the main floor carpet and has done a rough cut of the transmission tunnel piece. |
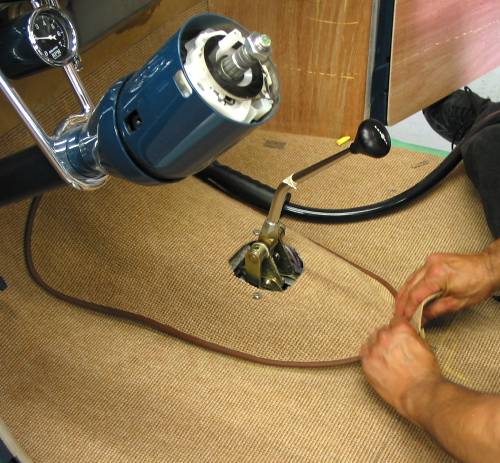
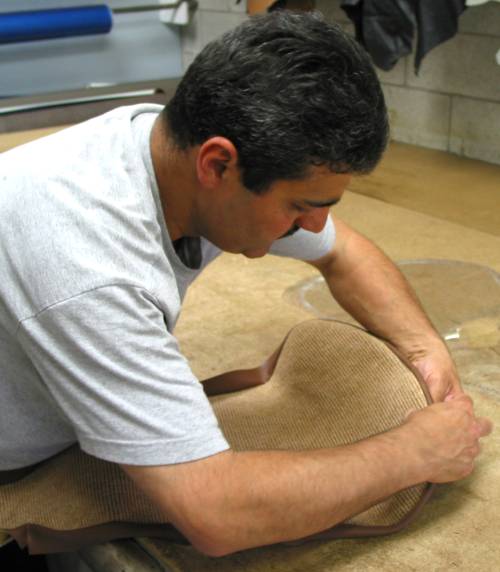
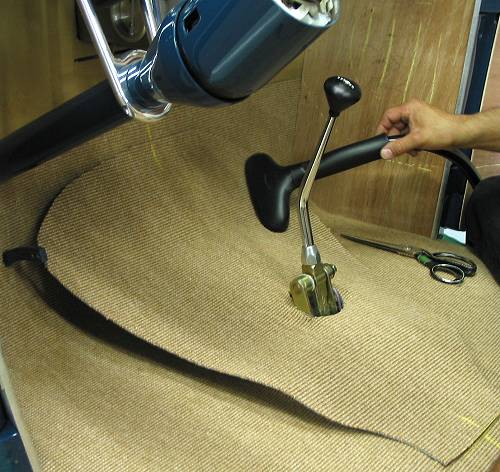 Peter is now steaming the transmission carpet to "help" it conform to the shape of the tunnel. |
| back to top |
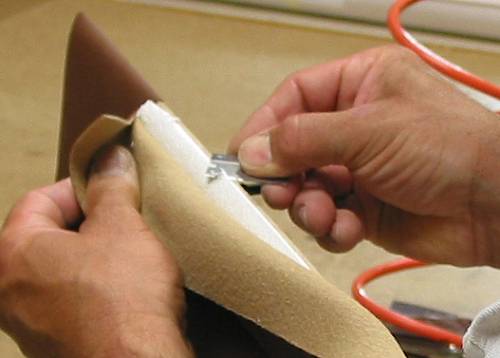
 With the piece formed to the tunnel shape, Peter creates a chalk cut line. |
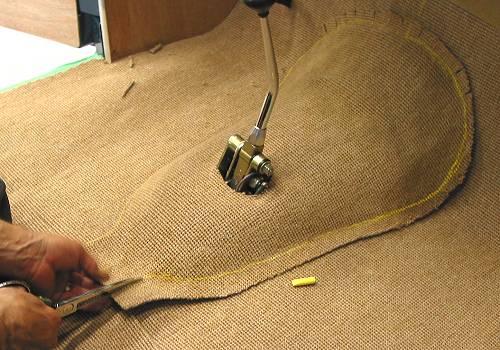 He now can cut the piece to the final shape. |
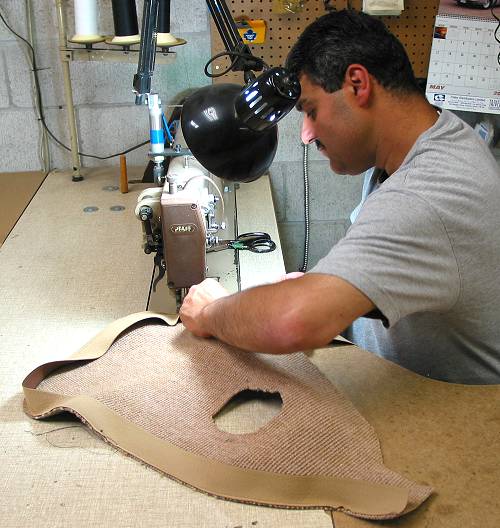 At the sewing machine, Peter adds a binding strip cut from the interior vinyl. |
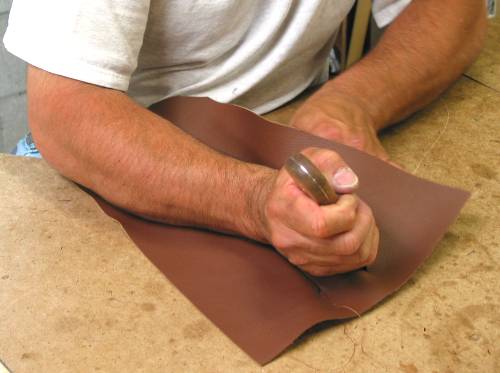
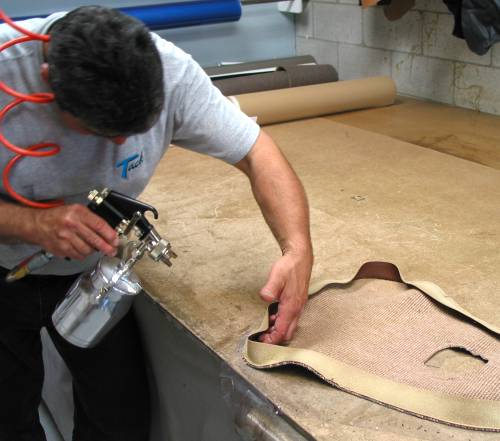 Applying glue to the strip. |
 After the glue has set up, he pulls the binding strip back over the piece. |
| back to top |
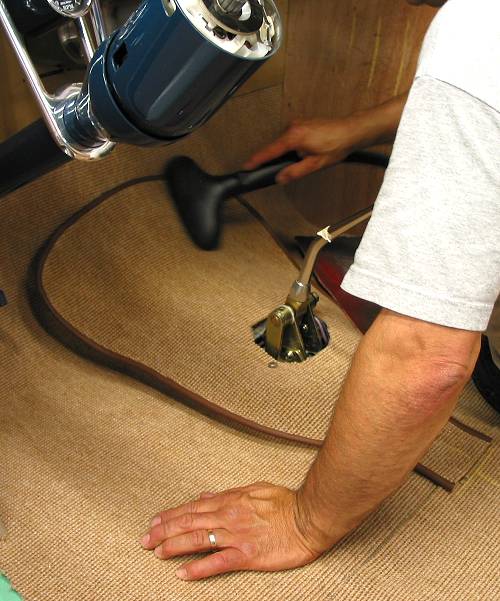 Another final steaming. |
|
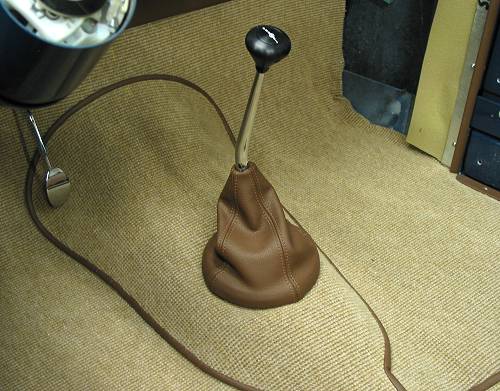 Finished with shifter boot in place. |
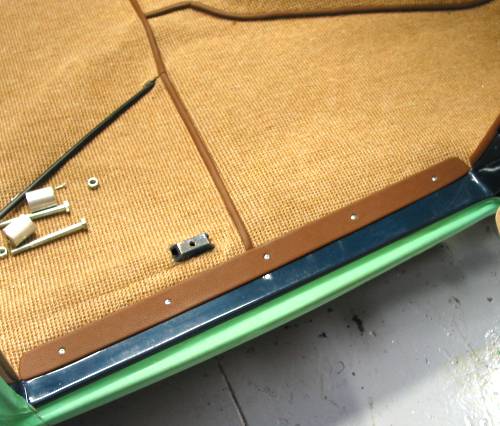 Tack fabricated this cool threshold piece that was covered in the interior vinyl. |
| back to top |
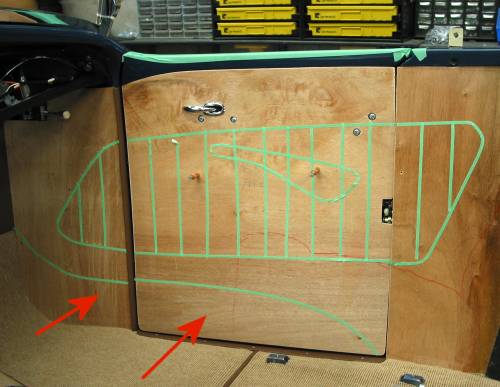 With the carpet essentially complete, Tack moves on to the panels. Using narrow masking tape, a design is layed out on the three panels that make up the interior side. The arrows indicate areas where carpet will be added. Note the arm rest area. |
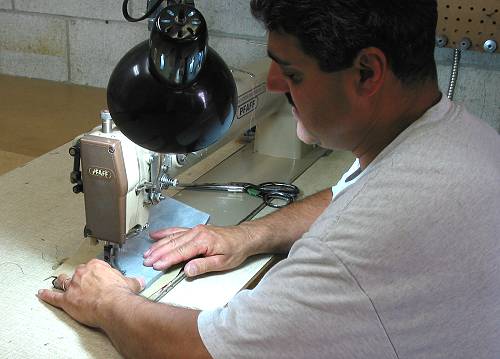 Peter back at the machine sewing a kick panel insert. |
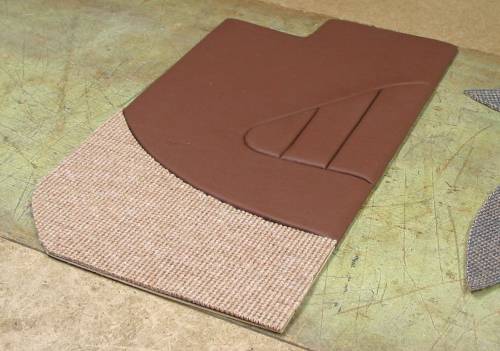
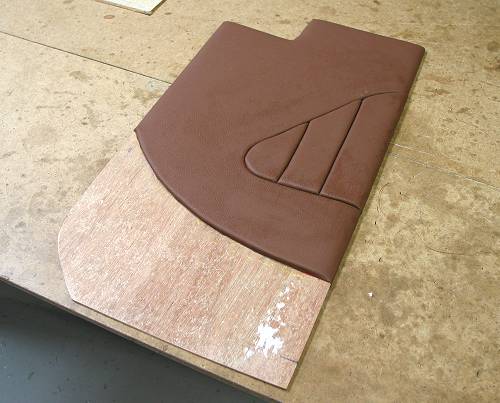 Here's a look at a kick panel completed without the carpet. |
|
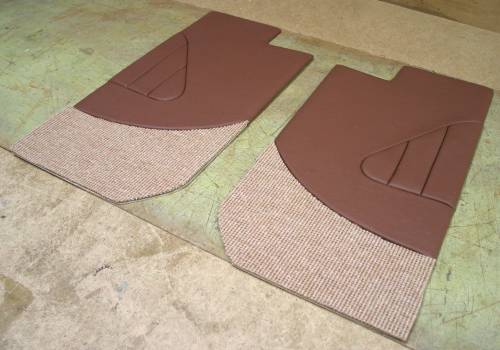 Both panels. |
| back to top |
 Like the transmission tunnel, a binding is applied to the outside edges. |
 The finished piece. |
 The completed rear panel |
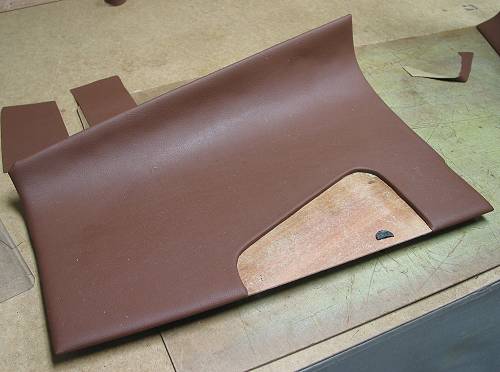 One of the rear side panels needing only the insert |
 Peter working on the insert |
| back to top |
 Applying glue |
 Peter finesses an edge where the vinyl will wrap around |
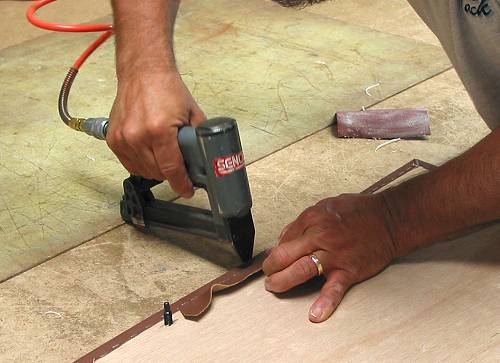 "Tack"ing it in place (no pun intended) |
 Completed rear side panel |
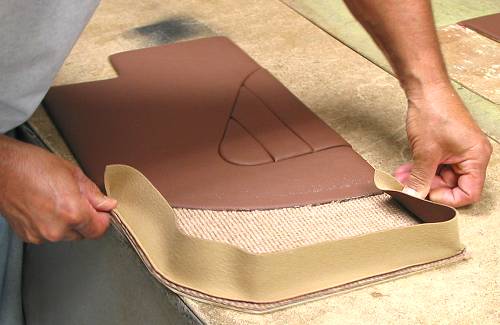
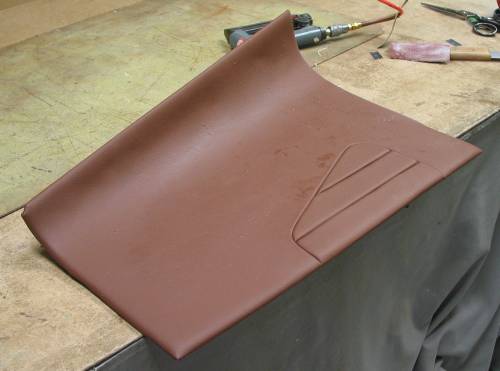
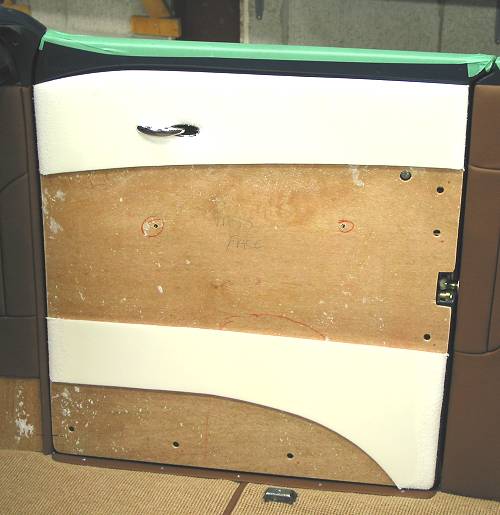 Door panel with upper and lower foam in place. The centre section will be pleated with carpet below. |
| back to top |
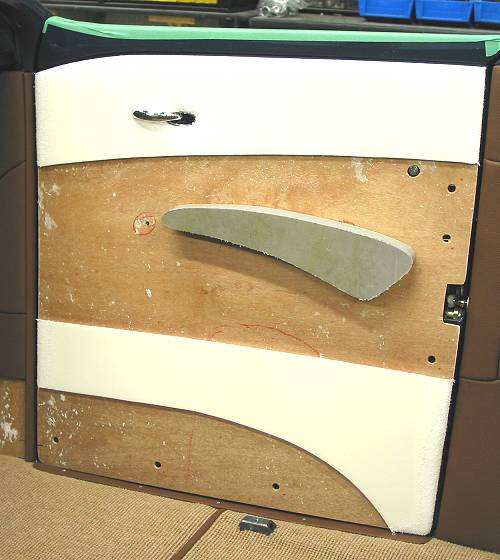
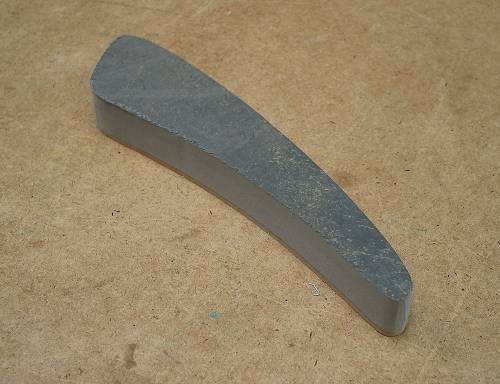 The beginng of an arm rest |
 |
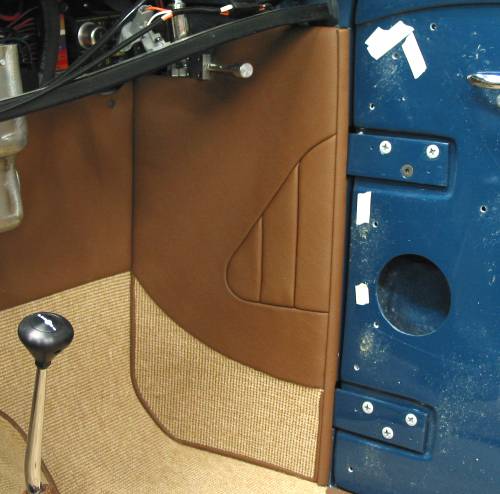
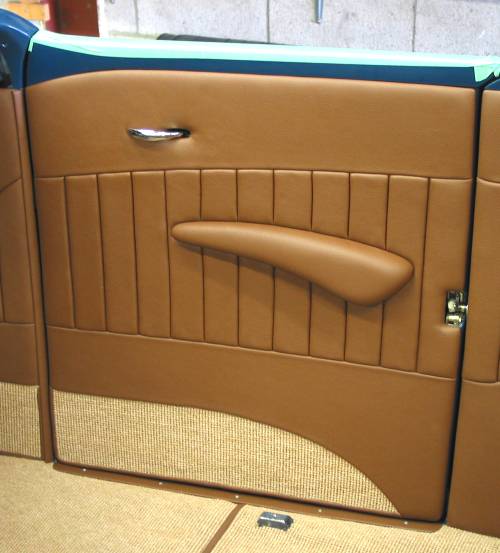 Completed door |
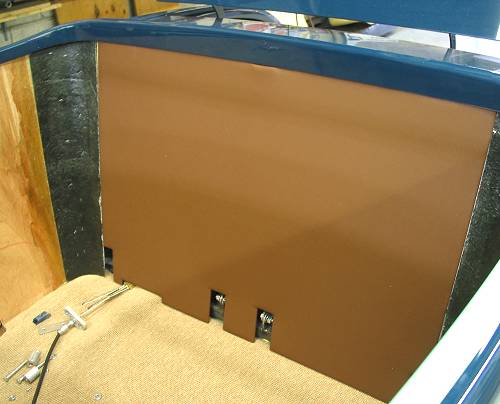
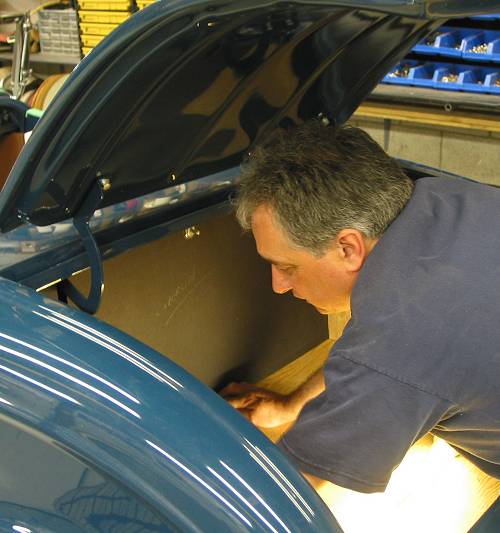 Vito working on trunk bulkhead template |
 Ready for carpet and upholstery |
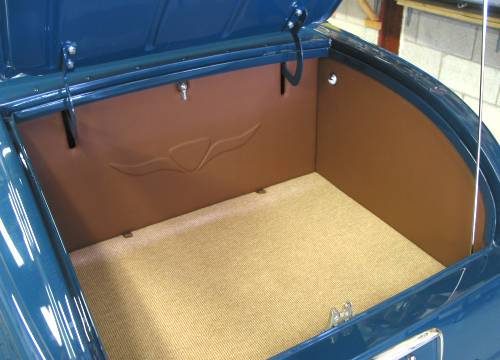 Completed trunk |
Resources: |
| Next Up - Upholstery - Part 2 |
<< Previous
Article -- Next Article>> |