Front
End / Wheels & Tires / Establishing Ride Height |
by Frank Colgoni
In our last article, we hung a dummy rear end which will permit
us to put our wheels and tires in position in order to mock
up both ride height and to establish the ultimate width of
our rear end assembly. Before we get to that however, we'll
unpack our front end components and get them assembled and
on to the frame.
Front End
We're using a complete hub-to-hub Pete and Jakes front end
with a 4" dropped Super Bell I-beam, and hairpins. If
you want to go this route, Pete and Jakes makes this extremely
easy for you by putting together the entire "kit"
as one part number. In our case, this is part #3095.
Check it our below: |
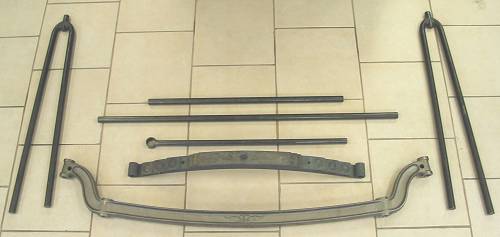
Pictured here are the Viper Hairpins, drag link, tie rod, panhard,
spring and a 46" Super Bell I-beam |
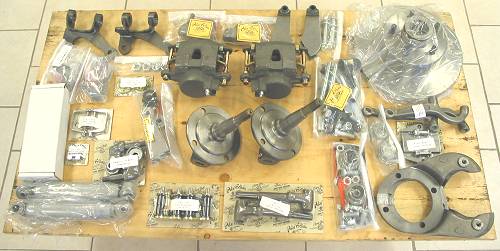
And, the rest of the components to complete the front end. As
I said, it's all there when you buy the complete front end.
Naturally, all of these componenets are available separately.
About all you need to finish off is a steering box, steering
box bracket and a pitman arm. Have a look at the drawing below
to see how it all works together. |
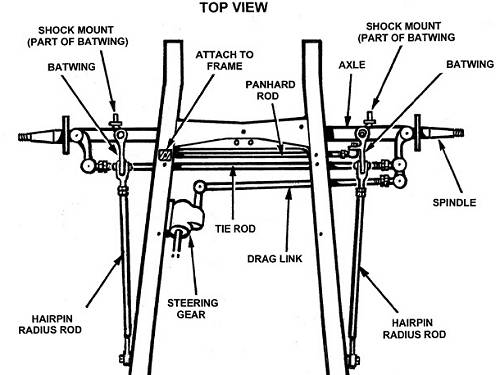
Courtesy Pete and Jakes / Super Bell Axle |
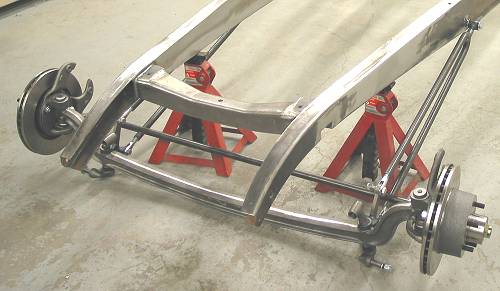
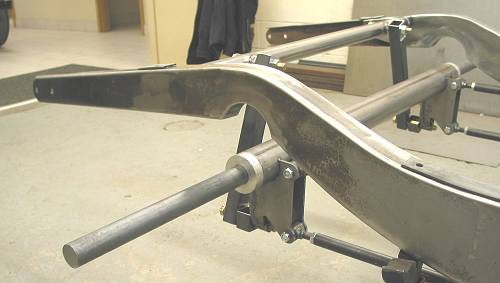
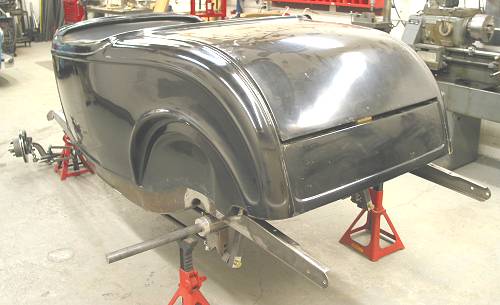
Here's the front end under the frame and pivoting by the hairpins.
We're going to use a spacer in place of the spring for now to
proceed with mockup. |
A side view showing the front notch. As we mentioned in a previous
article, the notch mimics caster angle. |
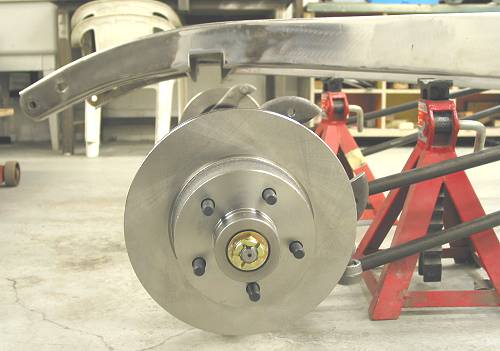
Again, relating back to the last article and the dummy rear
end / axle, you can see the bar (axle) in place and supported
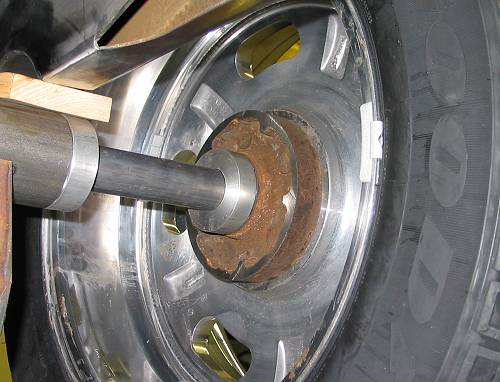
by the bushing. If you're wondering how a wheel will be supported,
Dream Machines used the hub portion only of a Ford rotor to
bolt to. See picture below.
|
 |
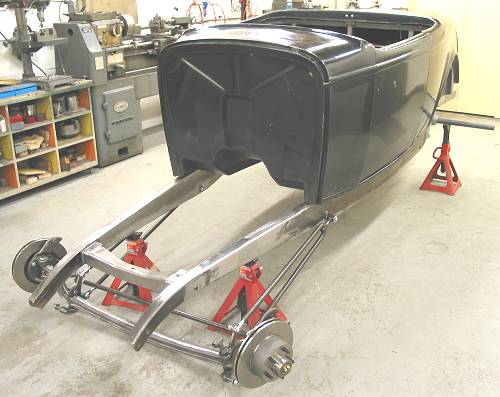
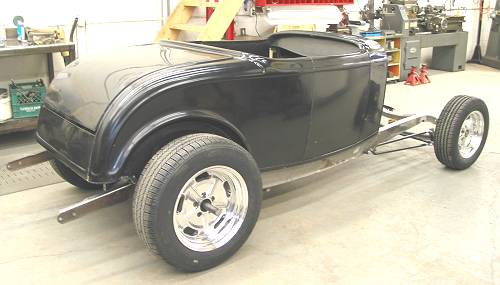
With the front end in place the body can go back on. The good
news here was that the body mount locations / frame body mount
provisions were in alignment. If you haven't already, read articles
3 and 4 which deal with establishing and maintaining these dimensions. |
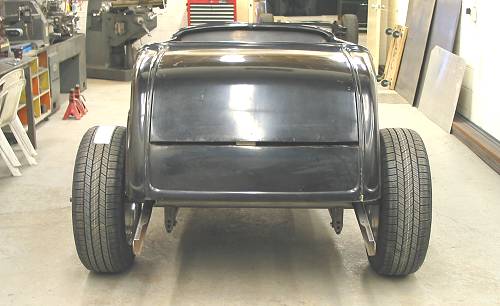
 Our
almost rolling mockup from the rear. |
|
About Wheels and Tires
I'm not going to get into a huge philosphical writeup about
wheel and tire selection. There are an infinite number of
opinions and, at the end of the day, it will come down to
your preference, your theme and how the car will be used.
Naturally, actual physical limitations will factor in if you're
running fenders. We're not, so "look" will be a
huge determining factor in selection.
We are going with a variation on a nostalgic theme. That
is, relatively tall tires with rears that are narrower than
average and a wheel to suit.
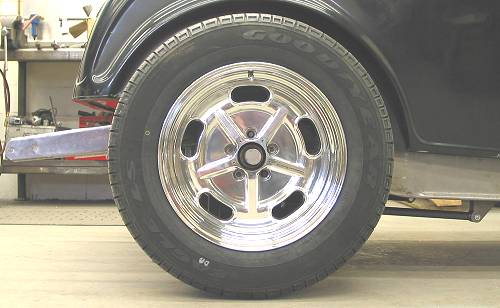
Wheels
We've chosen polished American
Racing Salt Flat wheels that will be finished
off later with a set of American Racing Carlisle spinners.
The wheels are part of American Racing's Vintage series and
the design of these wheels pay tribute to timeless hot rod
styling.
We've specified a backside setting for the front and rears
that keeps the depth, when viewed from the front side, fairly
shallow. We feel that the shallow front depth and the relatively
closed appearance of the wheels (versus a spoke wheel for
example) will best suit the dimensions of our tires (tall/narrow).
Specs:
American Racing Salt Flat - Style 721
15 X 6 front, 17 X 8 rear
You'll see the spinners later. They definitely look very
cool. |
Tires
Coming up with a tire spec on paper is one thing. Finding
the tires can be an entirely different matter. We mentioned
above how the tire's use will be used as a criteria in selection.
As this car will make a major road trip soon after completion
( 2007 Canadian Hot
Rod Tour), we were looking for good road tire. And, while
it isn't necessary to match front and rear tires from the
same tire line for appearance, our preference is to have matching
tires.
When we went shopping for tires for our previous project
and had all kinds of problems finding a tire line that had
sizing for both our fronts and rears, we found what we wanted
in the Goodyear RSA line. This time, Goodyear's
LS line had what we wanted.
Specifically:
195/65 X 15 for the fronts
235/65 X 17 for the rears |
 |
 |

Rolling mockup complete with exotic front end spacer (hey,
it works) |
Ride Height / Rear Axle Width
You know all those jokes that start off "how many XXX
does it take to....". Well, in trying to determine rear
ride height and to determine rear axle width, we almost went
there but not quite. We spent pretty much the better part
of a day raising and lowering the frame (with the rear wheels/tires
on the ground) and moving the wheels and tires in and out
in relation to the body in an attempt to get a look that worked
when viewed from all angles.
When that was achieved, we were able to measure the distance
between the backs of the wheel flanges so that this could
be passed on to our rear end supplier.
Unfortunately, our desired ride height created another problem
but we'll save that for another article. |
 |
At this point it was time to go home. Mission accomplished. |
|
|
| Next Up - Preliminary hood fitment |
|