| Preliminary
Hood Fitment |
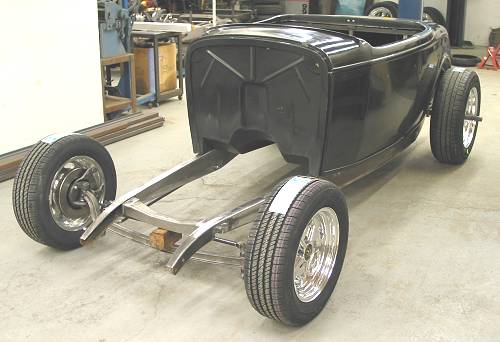
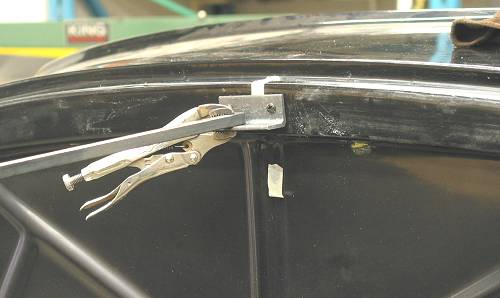
By Frank Colgoni Picking up from the last article, our body is in place and we’ve decided to determine rad shell positioning and preliminary fitting of the hood. Rad shell positioning, in conjunction with rad positioning, is critical in order to accurately position the engine and transmission (fore and aft). As our rad is being custom fabricated for us (Kydd Radiators), we’ll also be able to pass on measurements for rad supports at the front crossmember and rad shell (more on the rad in a future article). Regarding our rad shell, we’re using a very nice steel shell from Vintique Inc. We'll be featuring more Vintique products as things progress. For hood components, we’ve selected a stock dimensioned ’32 hood from Hagan Street Rod Necessities, their louvered hood sides (3-row) and their tri-opening hood latch kit. For this task, we’ll be dealing with the hood only. Hagan supplies excellent instructional documentation in the form of both paper and a VHS tape. The tape is very well done and useful. All critical measurements are provided and the complete installation of a hood, latch kit and sides are covered. I’m sure we’ll be re-referencing the tape when we attack the latch kit and sides. To begin, we need a simple method of keeping the shell upright while being adjustable. To accomplish this, a piece of angle is attached to the cowl and a piece of plate is attached to the rad shell through existing holes. We can then support the shell by clamping a length of bar between the body and shell. |
|
 |
 |
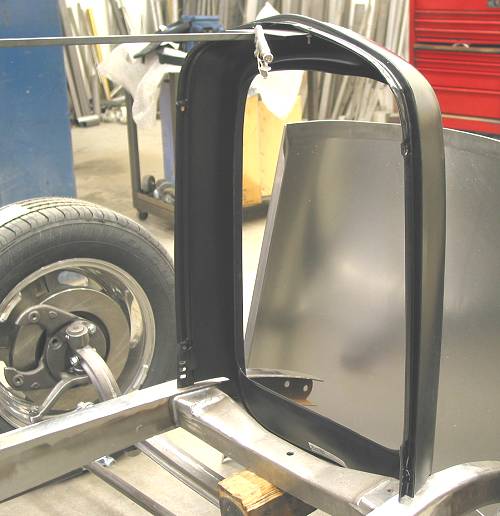
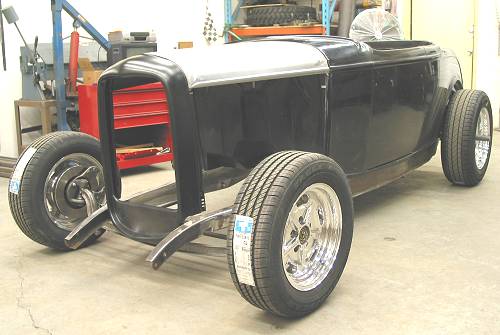
| With the shell roughly positioned, we use the measurements
provided by Hagan to determine fore/aft positioning. After achieving
this, we can set the hood on and support it using spacers provided.
About
The Hood (Text provide by Hagan) |
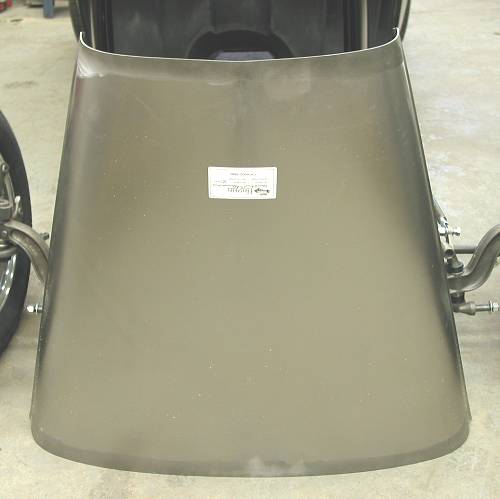 Our Hagan hood as it came out of the box. As an aside, all of the Hagan components are very well packed for shipping. |
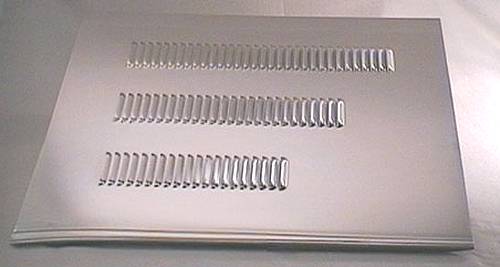 This is the Hagan hood side we'll be using. |
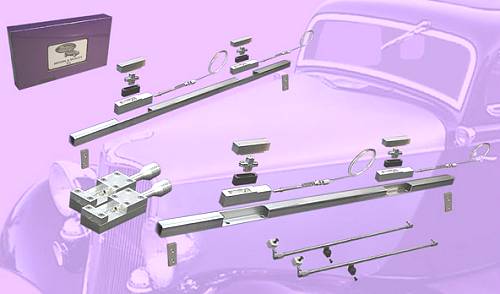 An exploded view of Hagan's tri-opening latch system. |
| A Word About Rad Shell Height As the body, doors, cowl and hood all feature a bodyline, it’s worth adjusting the height of the shell, as required, to achieve the look you’re trying to achieve. For example, if you want to sight down the car and see a nice, straight bodyline, you’ll need to adjust for that now. In our case, we decided that we needed to raise the shell slightly. So, we found an appropriate spacer and put that under the shell. At this point, we were satisfied with the placement of the shell and the preliminary positioning of the hood. Subsequent to this, Dream Machines fabricated a “frame” that went inside our rad shell that, when provided to Kydd Radiators, would provide for crossmember mounting and upper mounting positions. It also established the lowest point of the lower rad tank. |
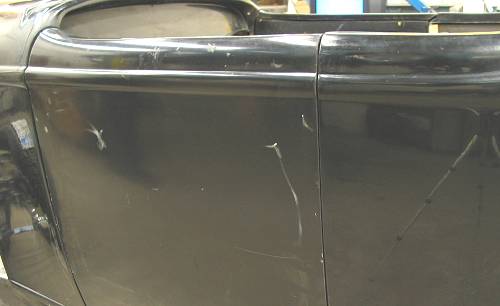 The bodyline referenced above. |
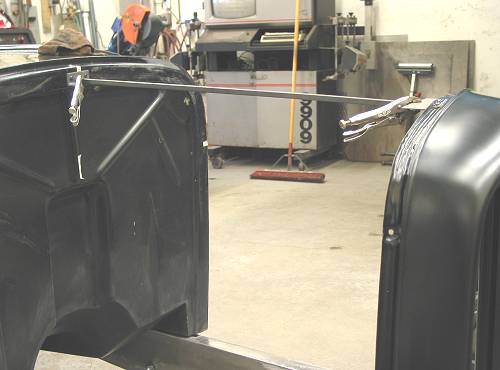 |
 This was the first positioning of the sheel - simply sitting on the frame. |
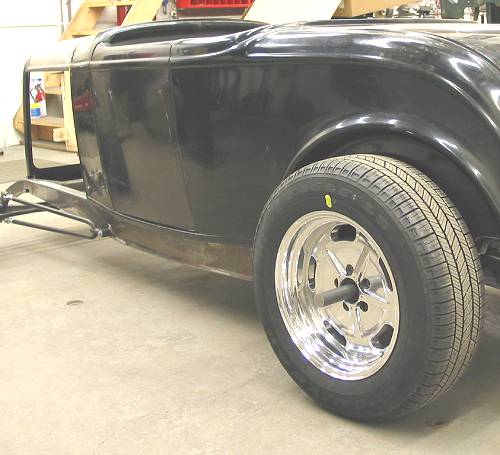 This is the view down the side of car after we shimmed the shell. At this point, the hood is on and supported for height by spacers. |
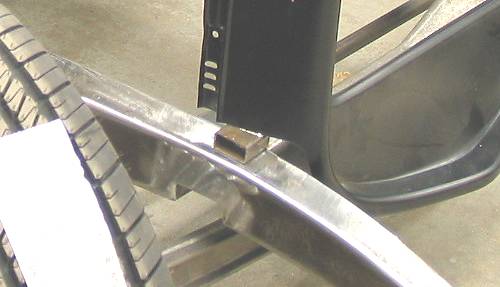 Our spacer in position. |
 |
| At this point, we've accomplished what we set out to do. We can now provide measurements to Kydd Radiators. After we receive our rad we'll mount it and move on to the Hagan rad shell supports that are part of the kit. |
Resources: |
| Next Up - Body, rear brakes and radiator |
<< Previous
Article -- Next Article>> |