| Bodywork / Paint |
By Frank Colgoni To arrive at the final, custom, colour, I started by identifying a colour in their Colormap book that was as close as possible to the colour I was imagining for the car (see Brightwork Auto Art rendering. The rendering was also used as a ROUGH guide). They then did a series of sprayouts, adjusting the colour between each sprayout until I was happy with the colour. This was a bit of a nerve-wracking process as you can only hope that the colour will work in application. It did thankfully. To provide additional background, also review Article 20 relative to the body mofications / bodywork done before the body went for prep and paint. Our thanks to Flavio Cruz for getting our body into (great) shape and to Dave Bell for finessing all the bits and pieces that needed painting and for laying down the colour, clear and polishing everyting out. Also, kudos to Dream Machines for taking care of painting the engine and transmission. Detailed photos below. |
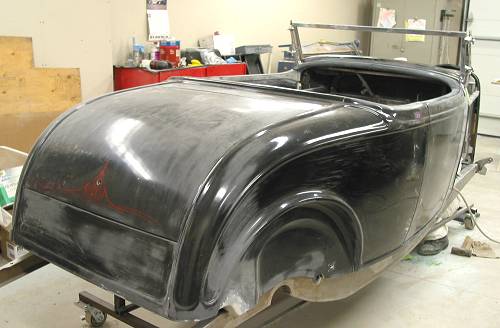 Arriving at the body shop. |
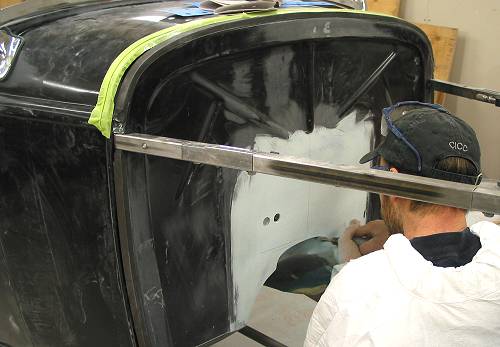 Flavio finishing up the work we started. |
 Dave getting to work on hood sides, hood and a headlight pot. |
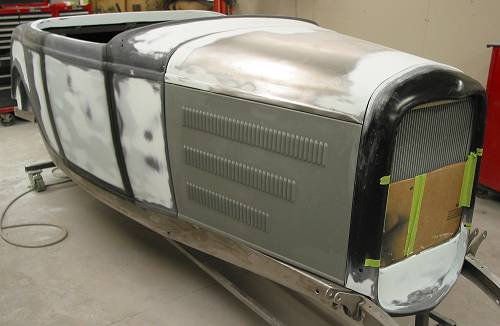
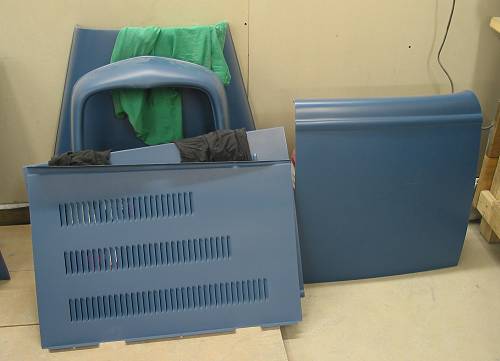
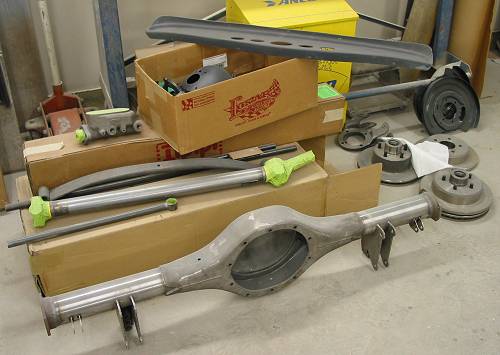 Lots of stuff to prep / paint. |
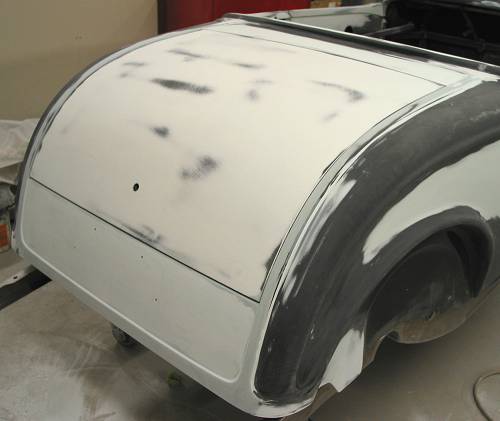
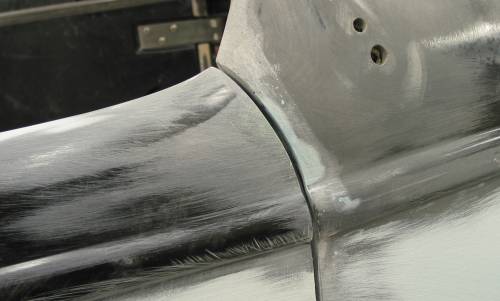 Close up of top of door in progress. This wasn't this nice before Flavio got at it. |
 |
 |
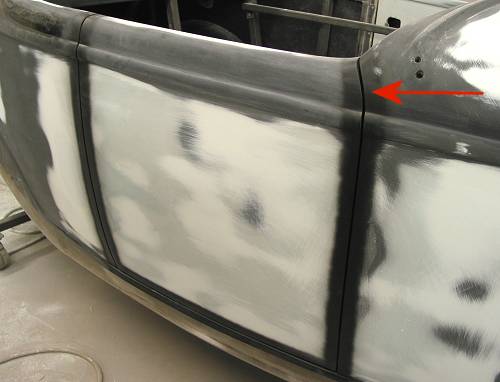
 You're looking from back to front on the driver's side along the inner edges of the area behind the door and the door. This arc needed work to flow nicely. |
 Door gap work in progress. Flavio has sprayed some black paint on the gaps so that they can visualized easier. |
 Almost there |
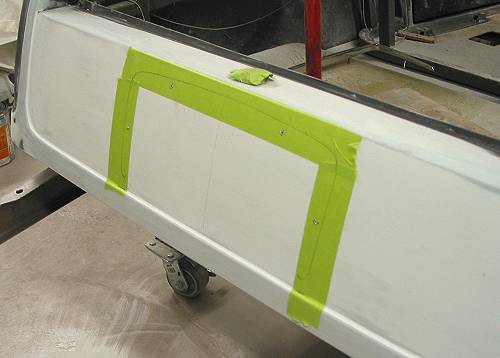 Drilling the holes to mount our So-Cal licence plate surround. |
 |
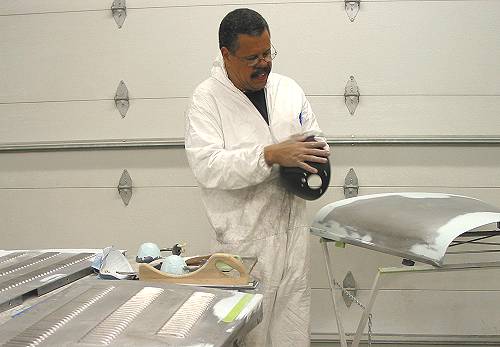
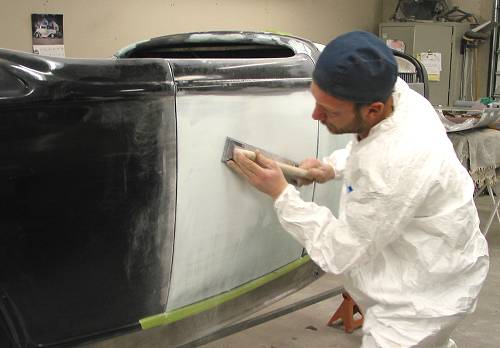
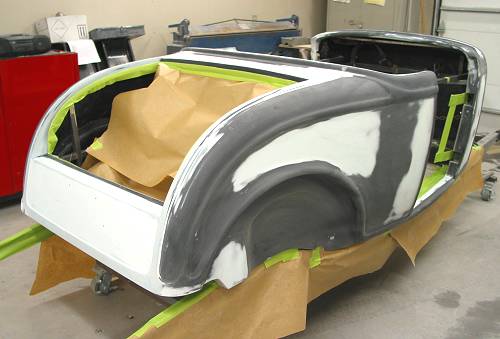 Getting masked up for primer. |
 |
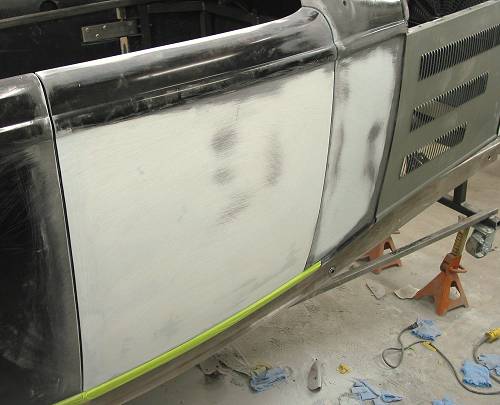
 Looking good so far. |
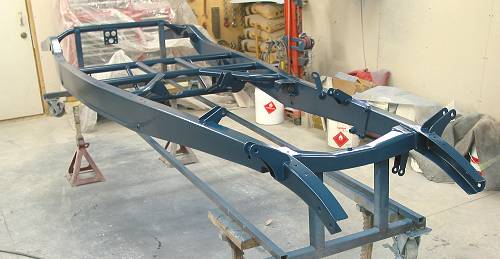 Frame in base colour. |
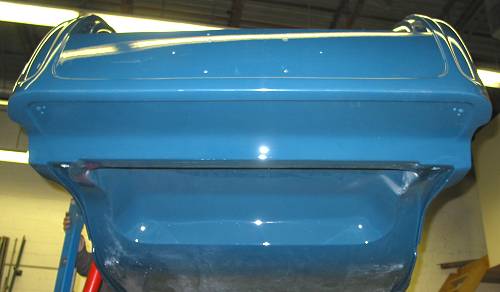
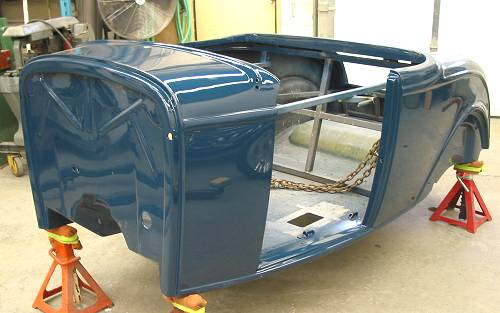
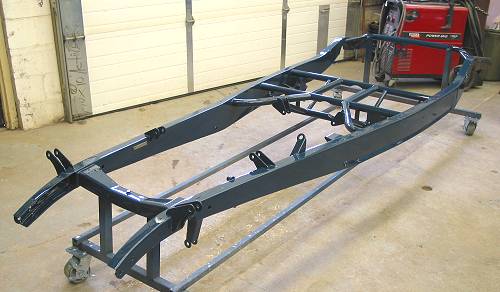 Finished and ready to go. |
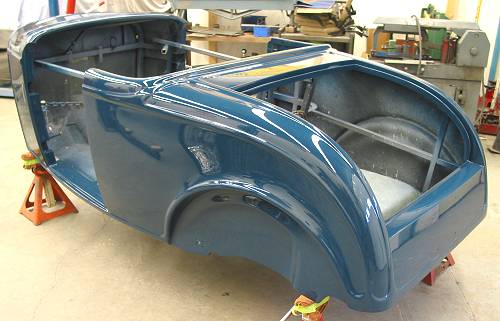
 Finished body arriving back at Dream Machines. |
 |
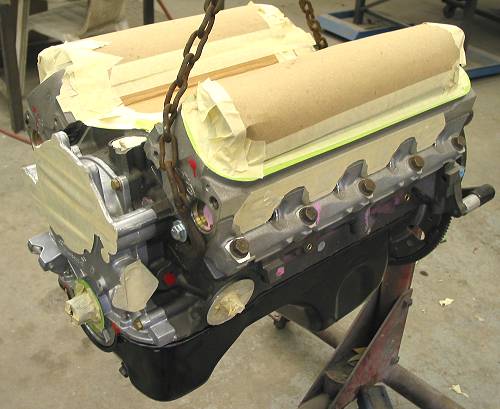 Engine ready for Sikkens Washprimer CR. |
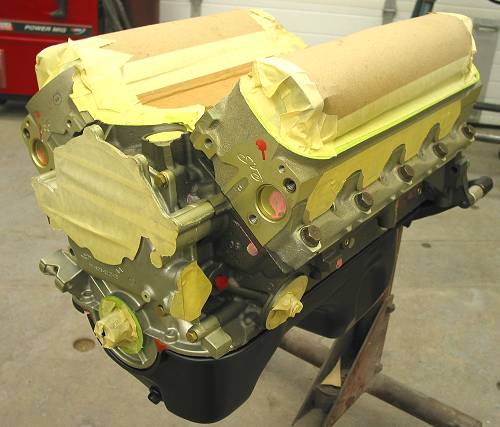 After the Washprimer. |
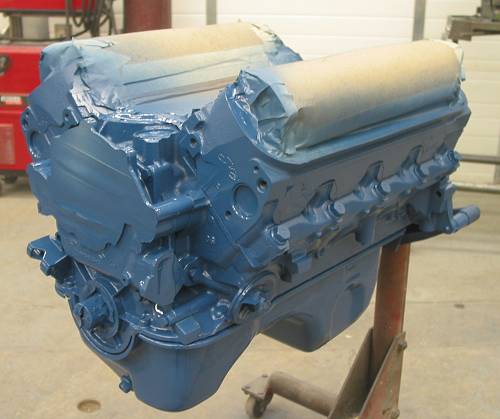 Now in base colour. |
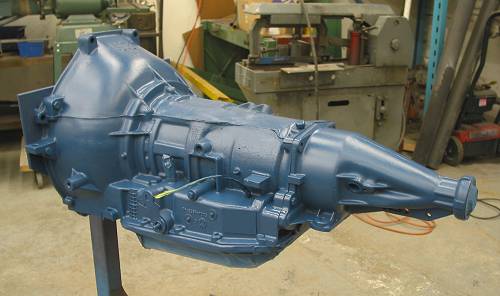 Transmission gets the same treatment. |
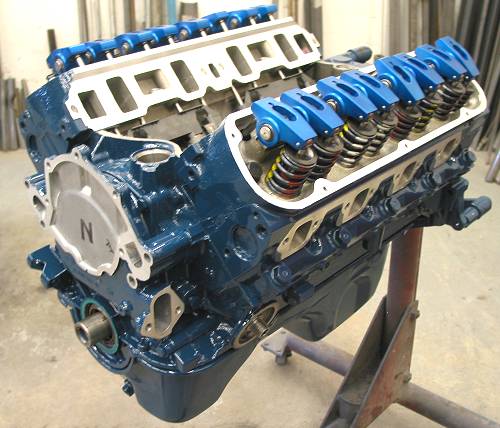 After clear and removal of masking materials. |
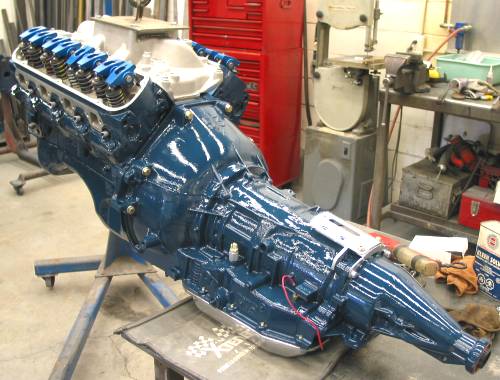 Finished engine and transmission |
Resources:
|
| Next Up - Upholstery |
<< Previous
Article -- Next Article>> |